You can extract an AI video prompt from a reference clip by breaking the footage into six parts: subject, setting, action, camera, lighting and style, then pacing and audio. A useful prompt describes how the clip works; it does not promise to recover the unknown words or settings that originally created it.
The fastest workflow is to upload footage you have the right to use to the video-to-prompt tool. It analyzes the picture and sound, then returns a paragraph, timestamped shot list, or JSON brief. This guide explains how to choose the right output, verify the analysis, and adapt it into an original video rather than making a weak copy.
What “Extract a Prompt From Video” Really Means
A finished video does not contain its original prompt as hidden metadata in most cases. It may have been filmed, edited from several sources, generated across multiple attempts, or changed after generation. Even when AI made the clip, the final file rarely reveals the exact model, seed, reference images, negative prompt, or discarded iterations.
A video-to-prompt system therefore performs visual analysis, not forensic prompt recovery. It watches the clip and writes a new production description that could guide another model toward similar visible qualities. The result should identify:
- who or what appears on screen;
- where the scene takes place;
- what changes over time;
- shot size, camera angle, and camera movement;
- light direction, contrast, palette, and finish;
- cut timing, action rhythm, and scene order;
- dialogue, music, ambience, and sound effects that can be heard.
This distinction matters. Treat the extracted prompt as a structured observation and starting brief. Do not treat it as proof of the original creator’s private process or as a guarantee that another model will reproduce the same frames.
When a Video-to-Prompt Workflow Is Useful
Reverse-engineering a clip is most useful when you can see a technique but cannot name it precisely. You may recognize that a product ad feels polished without knowing whether the movement is a dolly-in, orbit, crane shot, or digital zoom. You may like a night scene but need help describing its mixed neon light, shallow depth of field, and wet reflections.
The workflow is especially practical for:
- turning your own successful clip into a reusable creative brief;
- documenting camera and lighting choices for a team;
- converting a reference into a shot list before filming;
- studying why an AI-generated result worked;
- rebuilding a concept for a different product, character, or location;
- creating structured inputs for an automated production pipeline;
- identifying dialogue and sound cues that the visual prompt alone would miss.
It is less useful when your only goal is a transcript. A transcript records speech; a video prompt describes the entire audiovisual scene. It is also the wrong tool for copying a creator’s distinctive character, logo, campaign, or protected footage without permission.
Step 1: Choose a Reference You Can Actually Use
Start with a clip you created, licensed, received permission to analyze, or are otherwise authorized to use. The imageat page accepts MP4, MOV, and WebM files up to 60 seconds and 20MB. Vertical, square, and landscape footage can all work.
The tool does not fetch TikTok, Instagram, or YouTube links. Export or upload the original file you are allowed to use instead of trying to route around another platform’s restrictions. This also gives the analyzer cleaner media than a screen recording with interface buttons, captions, notifications, or playback controls covering the frame.
For the clearest analysis, use a clip that has:
- one coherent scene or a small number of intentional cuts;
- enough resolution to identify the subject and camera behavior;
- audible sound if dialogue, music, or effects matter;
- no unrelated intro, end card, or social-media interface;
- the final crop and speed you want the prompt to describe.
If a one-minute file contains five unrelated ideas, split it into separate references. A focused ten-second scene usually produces a more actionable brief than a montage whose style changes every two seconds.
Step 2: Pick the Destination Before Analyzing
A prompt should be written for what you plan to do next. The video-to-prompt page lets you choose Seedance, Kling, Veo, Sora, Wan, or a model-neutral option. This does not identify which model created the source. It adjusts the wording for the destination you select.
Choose a specific model when you already know where the next generation will run. Choose the neutral option when you are still comparing models, writing a brief for a human team, or storing the analysis in a reusable content system. You can review the current choices in the imageat model catalog before committing a production workflow.
Do not assume every model accepts every instruction. One may support native audio, another may ignore it. One may accept several references, while another only uses a starting image. Duration, aspect ratio, resolution, and camera controls also vary. The extracted description remains useful, but the final request must fit the selected model’s current inputs.
Step 3: Choose Paragraph, Shot List, or JSON
The best output format depends on the job.
Use a paragraph for one continuous shot
A paragraph works well for a five- to ten-second clip with one subject, one location, and one camera move. It keeps the visual logic together and is easy to paste into a generation interface.
A useful paragraph usually follows this order:
subject and setting → action → camera → light and style → timing → audio
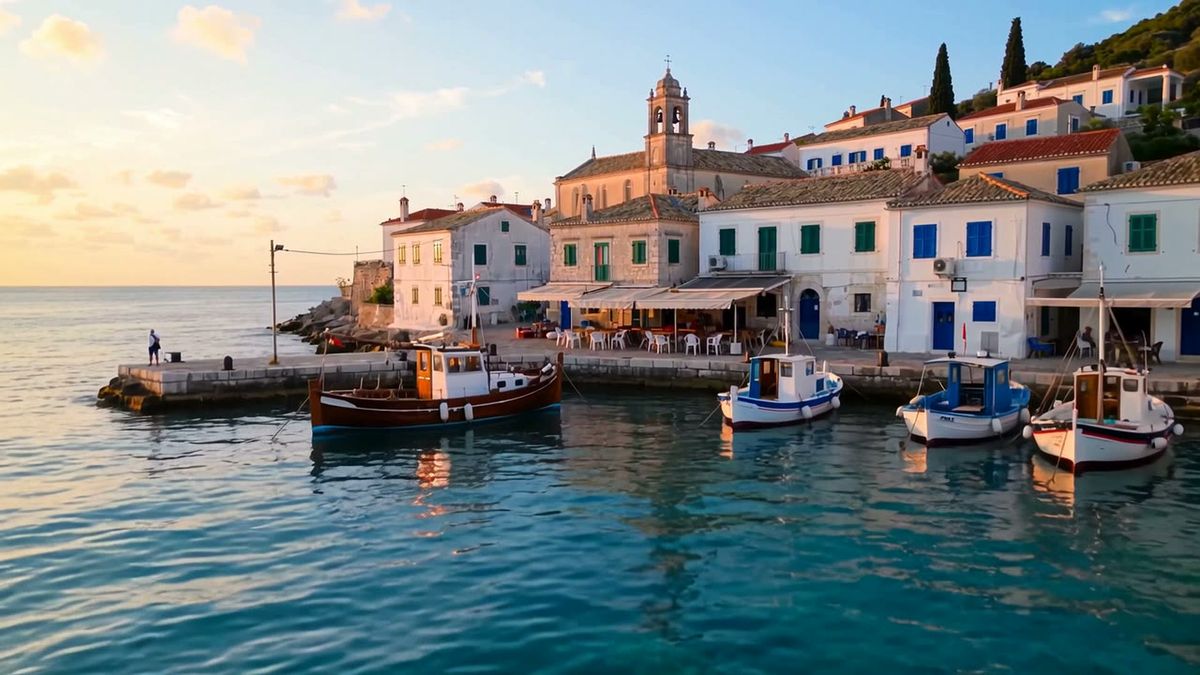
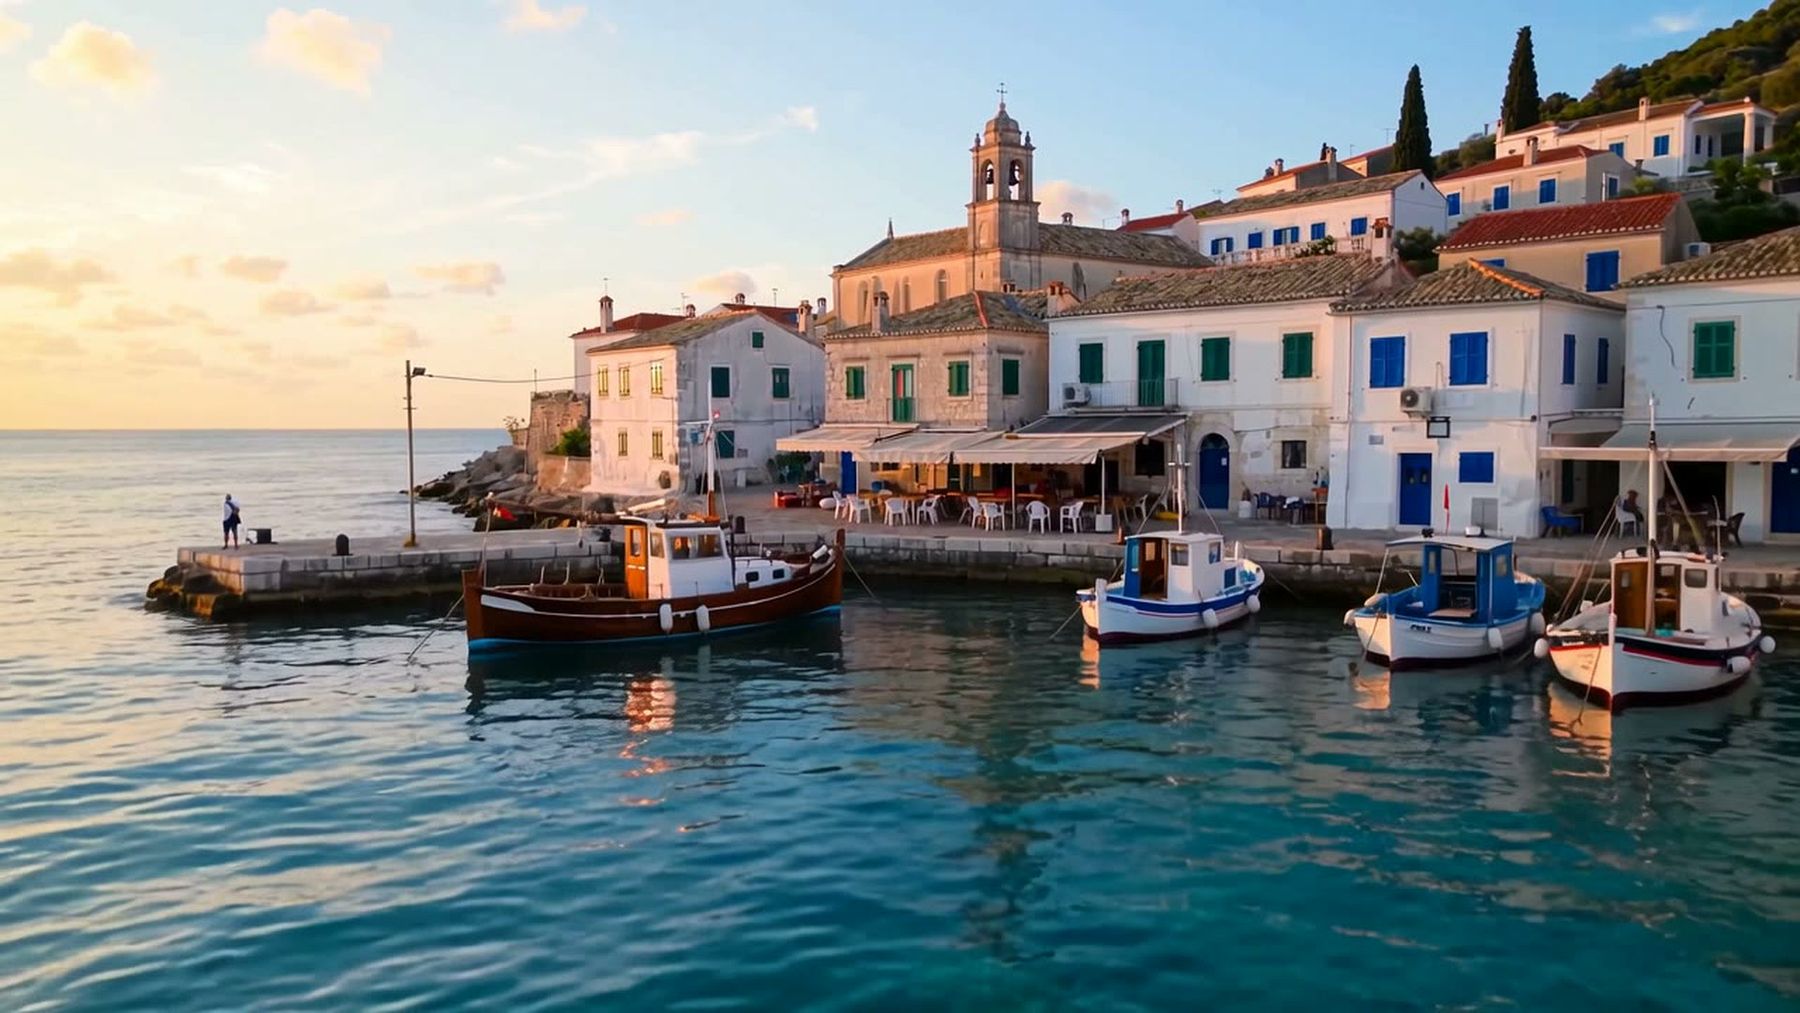
If the source contains a harbor at sunset, for example, your editable starter might begin with “wide coastal establishing shot…” and then specify the boat movement, camera path, warm side light, water reflections, pace, and ambient sound. Replace the location, subject, and art direction with your own creative variables before generating.
Use a shot list for edited sequences
Choose a timestamped shot list when the reference has cuts. It separates each shot by start and end time, which helps you understand whether the result depends on one long generation or several clips assembled in an editor.
A shot list is also better for collaboration. A director can revise framing, an animator can mark difficult actions, and an editor can estimate the sequence before anyone spends credits on final renders.
Use JSON for repeatable systems
JSON is appropriate when software will parse the result. A structured brief can store scenes, durations, camera instructions, audio, and negative constraints as separate fields. That makes it easier to validate required values, build a queue, or map the same analysis into several model-specific requests.
Do not send unreviewed JSON directly into a paid batch job. Validate field names, duration limits, allowed aspect ratios, and empty values first. A machine-readable format is not automatically a correct production request.
Step 4: Review the Six Prompt Layers
An analyzer can save time, but you still need to inspect what it wrote. Review each layer against the actual frames.
1. Subject
Check identity-neutral visible facts: number of people, product type, clothing, materials, pose, relative position, and important props. Remove guesses about a person’s identity, background, or private attributes. If the new video uses a different subject, replace those details rather than preserving them by accident.
2. Setting
Confirm location type, foreground, background, weather, time of day, and spatial layout. “A street at night” is often too weak. “A narrow rain-darkened food street with stalls on the left and closed shutters on the right” gives the model visible relationships to preserve.
3. Action
Describe what changes, in order. Use one clear verb for each beat. Separate a person walking, looking aside, stopping, and turning toward camera instead of calling the whole sequence “cinematic movement.” If the action is physically ambiguous, simplify it before generation.
4. Camera
This is where extracted prompts often add the most value. Verify:
- shot size: extreme wide, wide, medium, close-up, or macro;
- angle: eye level, low, high, overhead, or Dutch angle;
- movement: pan, tilt, dolly, truck, orbit, crane, handheld, or static;
- direction and speed of movement;
- lens character and depth of field;
- whether the subject or camera creates the apparent motion.
Avoid stacking incompatible directions. “Locked tripod shot with a fast handheld orbit” asks for two different camera behaviors. Choose the movement that actually carries the scene.
5. Lighting and visual finish
Check light source, direction, softness, color temperature, contrast, reflections, atmosphere, and grade. A reference may combine warm shop light, cool overhead light, wet pavement, and shallow focus. Those relationships communicate more than adjectives such as “beautiful” or “epic.”
6. Pacing and audio
Timing should name when events happen, not merely call the result fast or slow. Audio should distinguish spoken words, ambience, music, and effects. The current imageat output can include quoted dialogue, music, sound effects, and a negative prompt tuned to the clip.
If you do not own a piece of music, do not ask a generator to imitate the recording. Replace it with functional direction such as tempo, instrumentation, energy, and where the beat changes.
Step 5: Make the Prompt Original
The purpose of analysis is to learn a visual grammar, not to clone every distinctive element. Keep the transferable technique and change the expressive content.
A practical transformation changes at least four variables:
- Subject: replace the person, product, vehicle, or character.
- Setting: move the action to a different environment.
- Art direction: choose a new palette, period, material language, or finish.
- Story beat: change what happens and why it matters.
You can keep a useful camera pattern—such as a slow push from wide to medium—while changing the coastal harbor into a winter train platform, replacing fishing boats with a luggage cart, and shifting golden sunset light to cool morning fog. The result learns from the shot design without pretending to be the source.
For commercial work, remove visible trademarks, copied packaging, recognizable campaign copy, and any person you do not have permission to depict. The extracted prompt may faithfully describe those details; your job is to decide whether they belong in the new brief.
Step 6: Generate a Cheap Test Before the Final Render
After revision, open the AI video studio and run the smallest sensible test. Use a short duration and moderate resolution when the chosen model allows it. The goal of the first attempt is to test composition, action order, and camera behavior—not to create the final delivery file.
Review the test in this order:
- Is the main subject correct and stable?
- Does the action happen in the intended sequence?
- Is the camera move physically understandable?
- Do the location and light support the subject?
- Does the timing leave room for every beat?
- Does audio help the scene rather than compete with it?
Change one category at a time. If you rewrite the subject, action, camera, palette, and sound together, you will not know which revision fixed or broke the result. Generating a new video uses credits even though analyzing a clip with an imageat account is currently free, so disciplined tests also reduce avoidable paid attempts.
Common Video-to-Prompt Mistakes
Assuming the output is the original prompt
It is a reconstruction from visible and audible evidence. Label it as an analysis or generated brief, especially when sharing it with a team.
Copying every detail from the reference
A precise analysis can accidentally preserve a creator’s distinctive character, brand, or composition. Keep the production method and replace protected or personal elements.
Ignoring cuts
A paragraph can make a three-shot sequence sound like one impossible camera move. Use the shot-list output and generate shots separately when the reference clearly contains edits.
Overloading camera language
More technical terms do not create more control. One shot size, one angle, and one principal movement are often enough. The guide to common AI video prompt mistakes covers conflicting motion and timing instructions in more depth.
Treating audio as decoration
A door slam, spoken line, footstep, or beat drop may define the timing of the picture. Preserve the function of the sound even when you replace the specific recording.
Skipping post-generation editing
A good prompt does not guarantee a finished sequence. Trim weak openings, remove unusable endings, balance sound, and combine selected shots in the video editor. If you want to transform existing footage rather than rebuild it from a written description, compare that route with the AI video editor.
A Reusable Review Checklist
Before using an extracted prompt, confirm that:
- you have the right to upload and analyze the clip;
- the source is under the current 60-second and 20MB limits;
- the output format matches the job;
- every cut is represented separately when necessary;
- subject, action, camera, light, pacing, and audio are all covered;
- inferred details are not presented as verified facts;
- names, logos, private attributes, and copied campaign elements are removed;
- the destination model supports the requested inputs;
- the first generation is a controlled test, not a large batch;
- the final result is reviewed by a person before publication.
Frequently Asked Questions
Can AI recover the exact prompt used to make a video?
Usually no. It can analyze the finished pixels and sound and write a plausible new prompt, but it cannot reliably recover an unknown seed, hidden reference files, model settings, edit history, or the exact original wording.
Is video-to-prompt analysis free on imageat?
The current page states that analysis is free with an imageat account and does not use credits. Generating a new clip from the resulting prompt uses credits as usual. Check the live page before relying on this distinction in an automated workflow.
Which file types can I upload?
The current tool accepts MP4, MOV, and WebM files up to 60 seconds and 20MB. It supports vertical, square, and landscape clips.
Can I turn a YouTube or TikTok link directly into a prompt?
Not with the current imageat tool. It does not fetch social-platform links. Upload a video file you created, licensed, or have permission to use.
Should I choose a paragraph or a shot list?
Use a paragraph for one continuous shot. Use a timestamped shot list when the clip contains cuts, multiple scenes, or timing that must be reviewed shot by shot. Use JSON when software needs structured fields.
Will the same prompt work in every AI video model?
Not exactly. The creative description can transfer, but supported duration, resolution, reference inputs, audio, camera controls, and parameter names differ. Adapt the brief to the current model interface.
Is a video prompt the same as a transcript?
No. A transcript records spoken language. A video prompt describes the subject, setting, action, camera, lighting, style, pacing, and audio needed to create the audiovisual scene.
Turn Your Reference Into a Better Brief
A strong video prompt is not a pile of cinematic adjectives. It is a compact explanation of what appears, what changes, how the camera sees it, how the scene is lit, when each beat happens, and what the viewer hears.
Start with footage you are allowed to use, run it through the imageat video-to-prompt generator, choose the output format that fits your workflow, then replace the source-specific details with your own subject, setting, art direction, and story. The analysis gives you a map; the creative decisions should still be yours.