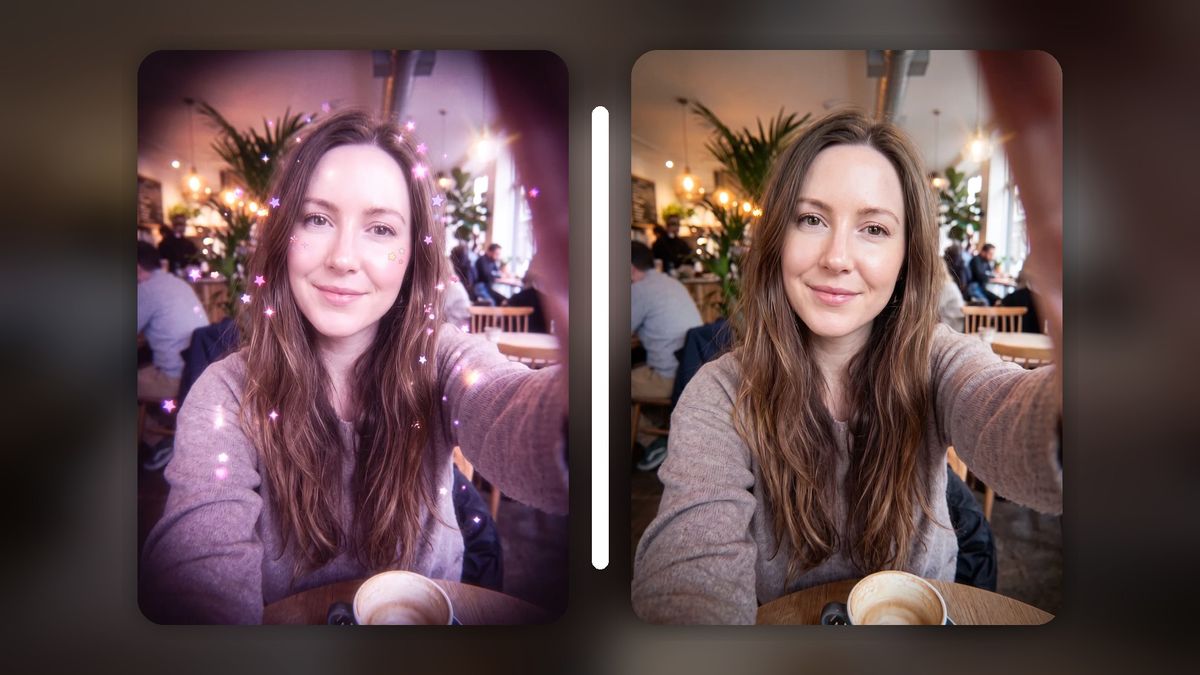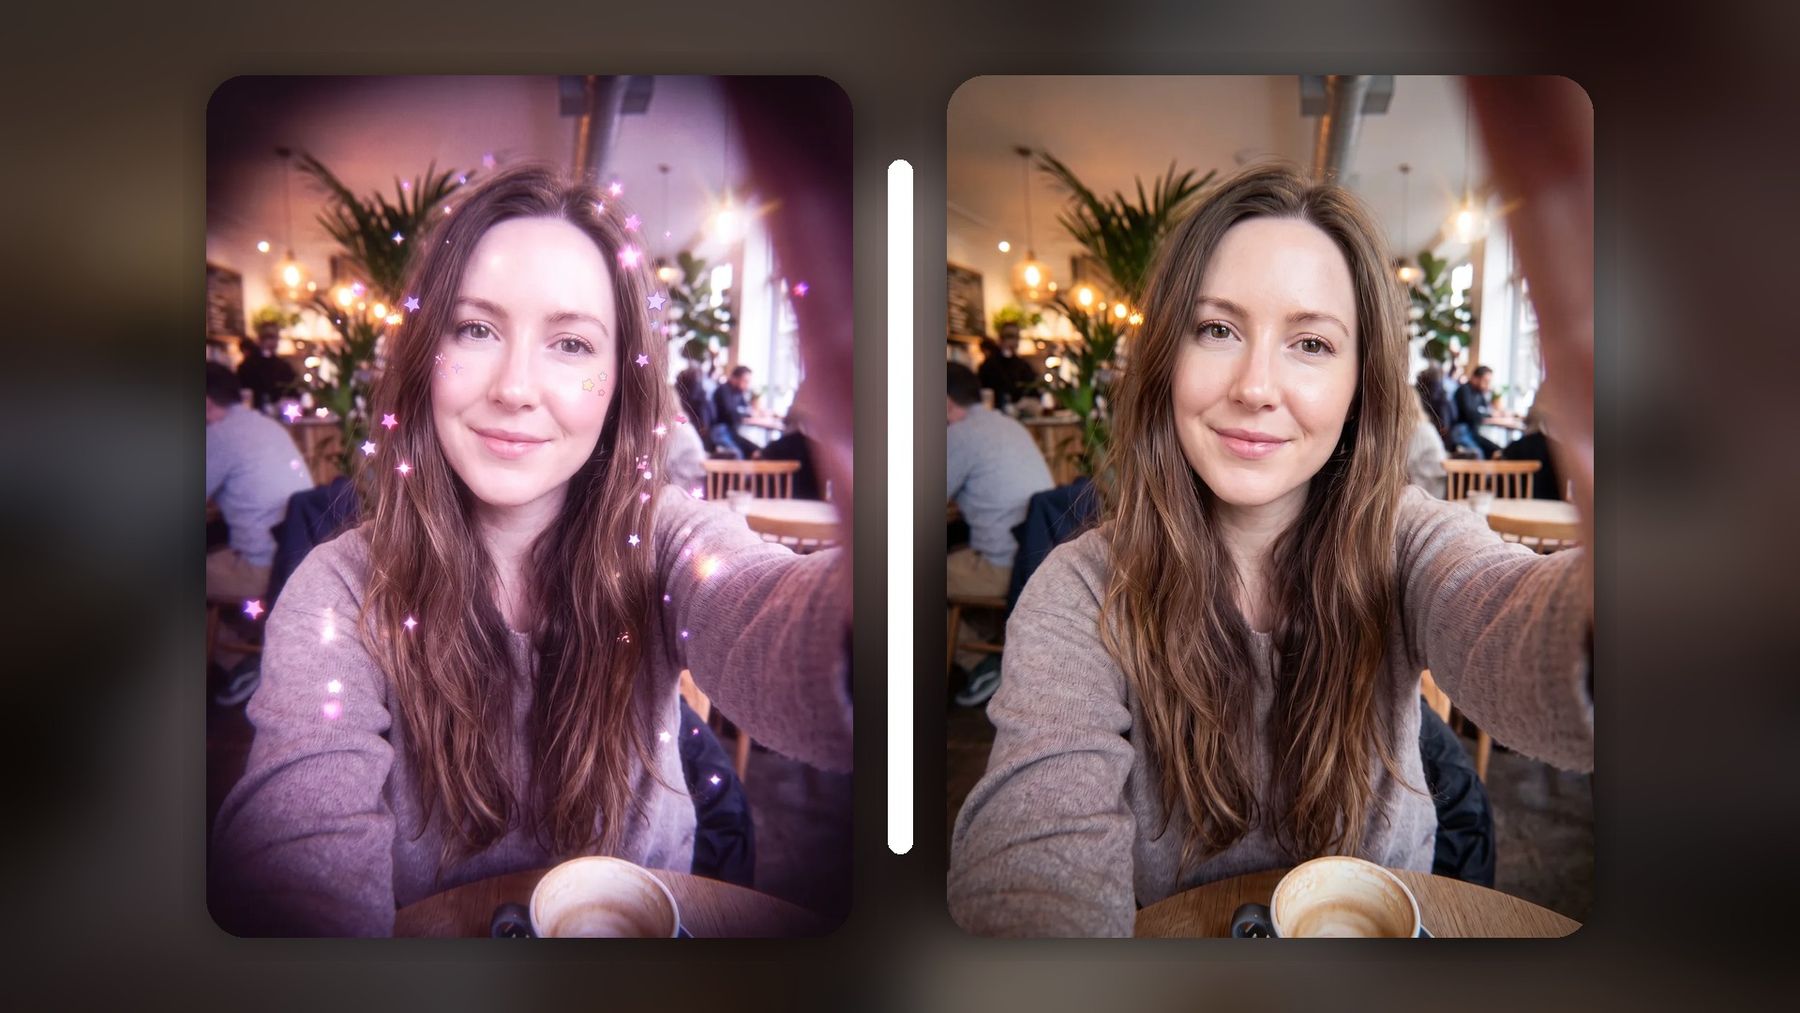
You can remove the visible effect of many photo filters, but you cannot reveal pixels the filter permanently discarded. The practical solution is to rebuild a natural-looking version: correct the color cast, reduce artificial smoothing, restore plausible skin texture, and keep the person and scene recognizable. The imageat filter remover handles that reconstruction in one focused workflow.
This guide explains what can be reversed, what must be estimated, and how to get a result that looks like a believable photograph rather than a different filter.
Can you really remove a filter from a photo?
Yes, with an important qualification. A filter remover can neutralize visible edits and reconstruct details that appear to have been altered. It cannot recover the exact original file if that file no longer exists.
A color preset may clip highlights, crush shadows, shift skin tones, or replace subtle colors with a strong tint. A beauty filter may smooth away pores, reshape facial features, add virtual makeup, or cover part of the face with stickers. Once an edited image has been flattened and saved, the removed information is not secretly stored underneath the effect.
AI can still produce a useful result. It analyzes the filtered image, identifies likely edits, and generates a plausible natural version while trying to preserve the same subject, pose, clothes, lighting, and background. Think of the output as an informed reconstruction—not forensic recovery and not proof of how someone “really” looked.
Start by identifying the kind of filter
The best removal method depends on what changed. Before uploading anything, compare the image with these common categories.
Color filters
Color filters change the whole photograph or selected tonal ranges. Common signs include:
- an orange, pink, teal, or green cast;
- faded blacks or unusually gray shadows;
- very high contrast and clipped highlights;
- heavy grain, bloom, vignetting, or artificial haze;
- skin that takes on the same tint as the background.
These edits are often the easiest to reduce because the geometry of the face and scene remains intact. The task is mainly to estimate neutral color, contrast, and texture.
Beauty filters
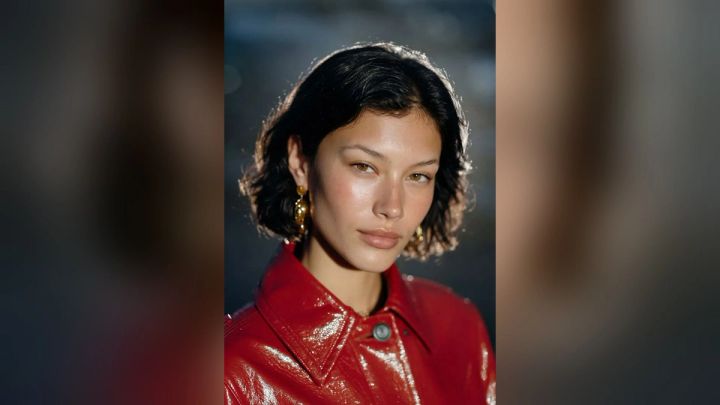
Beauty filters alter the subject rather than only the grade. They may smooth skin, brighten eyes, slim the face, enlarge eyes, sharpen the jaw, change makeup, or adjust feature proportions. A useful reconstruction should reduce these interventions without replacing the person’s identity.
Beauty-filter removal is inherently less certain. If smoothing erased freckles or fine lines, an AI system has to infer plausible texture. If a filter reshaped the jaw, the original contour cannot be calculated perfectly from the saved image.
Decorative face filters
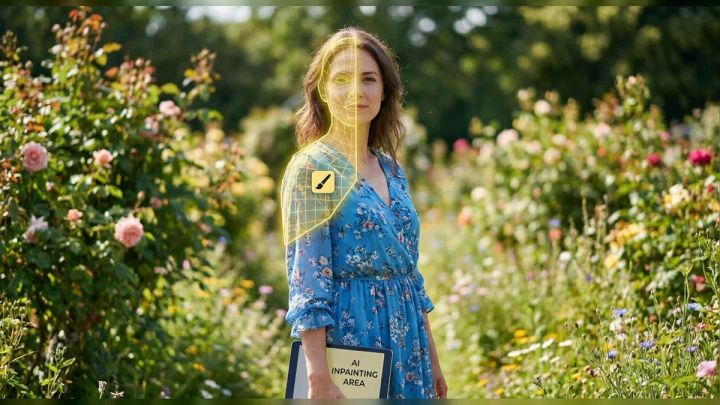
Stickers, ears, sparkles, masks, and animated overlays cover pixels. Removing them is closer to object removal or inpainting than color correction. Small overlays against simple areas can be reconstructed convincingly. A large graphic that blocks an eye, hairline, or hand requires more estimation.
Blur and privacy effects
Do not treat a deliberately blurred, pixelated, or censored face as an ordinary filter. Reconstructing concealed identity is unreliable and can violate privacy. Use filter removal only on your own photos or images you have permission to edit, and never present an AI estimate as recovered evidence.
How to remove a filter from a photo step by step
The imageat tool separates color and beauty corrections so you do not have to describe every adjustment manually.
1. Find the best available source
Use the original filtered export if possible. Avoid a screenshot of a screenshot, a photo downloaded from a messaging app, or an image that has been repeatedly resized. Every compression pass throws away texture and introduces blocks or ringing that can be mistaken for part of the filter.
The filter remover accepts JPEG, PNG, and WebP files up to 10MB. Screenshots are supported, but a direct export usually gives the model more useful detail.
If the only copy is tiny or badly compressed, run a test before enlarging it. Upscaling first can make compression artifacts look more confident without making them more accurate. When enlargement is genuinely needed for a final crop or print, compare the reconstruction before using the image upscaler.
2. Crop away irrelevant interface elements
A saved social-media screenshot may include buttons, usernames, captions, or black borders. Crop those elements if they are not part of the photograph. This gives the model a cleaner visual target and reduces the chance that interface graphics will be altered along with the image.
Do not crop too tightly around a face. Keep some hair, shoulders, and background context. Those areas provide useful clues about the original light and color balance.
3. Choose what you want to remove
The tool offers three modes:
- All filters addresses both color treatment and beauty changes.
- Color filter targets tints, presets, fades, vignettes, and grain while keeping the face as it appears in the input.
- Beauty filter targets smoothing and facial edits while keeping the existing color treatment.
Use the narrowest mode that fits the problem. If you like the cinematic color grade but want less plastic-looking skin, choose Beauty filter. If the face looks fine but the entire image is buried under a magenta preset, choose Color filter. Use All filters when both parts are visibly affected.
4. Add only the details that matter
The optional detail field is most useful for preserving intentional scene characteristics. For example, you might ask to keep warm sunset light, neon blue signage, red stage lighting, or a deliberate black-and-white look.
Keep the instruction short and concrete. Do not ask for a different hairstyle, outfit, background, camera angle, and expression in the same pass. Those are creative edits, not filter removal, and they make it harder to judge whether the underlying correction worked.
5. Generate and compare at full size
On imageat, one filter-removal generation costs 6 credits. The result is delivered at 2K without a watermark, and credits are returned if a generation fails. Free sign-up does not mean that each model run is free, so treat the credit cost as part of your test plan.
Compare the before and after images at 100% zoom. First inspect identity and geometry, then color and texture. A more attractive result is not automatically a more faithful one.
6. Download the strongest version before making other edits
Save the clean reconstruction as a new file. Do not overwrite your source. If you need broader adjustments afterward, open the result in the AI photo editor and make one change at a time.
A simple filename such as portrait-filter-removed-v1.jpg is more useful than repeatedly saving over IMG_1234.jpg. It leaves you with a clear comparison trail.
A five-point quality check
Use this review before posting, printing, or passing the image to another editing step.
1. Identity
Check the distance between the eyes, face width, nose shape, lip outline, hairline, and distinctive marks. The subject should remain the same person. A subtly reshaped face can look polished while still being a poor reconstruction.
2. Skin texture
Natural skin is not perfectly flat. Look for gradual tone changes, pores at an appropriate scale, and believable transitions around the cheeks, nose, and forehead. Repeated texture, waxy patches, or aggressive sharpening are warning signs.
Do not assume that every freckle or line in the output was present in the original. Reconstructed texture can be plausible without being historically exact.
3. Color consistency
Skin, hair, clothing, walls, and neutral objects should respond to the same light. If the face looks daylight-neutral but the room remains heavily pink, the correction may be uneven. White objects are useful references, but warm bulbs and colored stage light mean that white does not always need to be perfectly neutral.
4. Edges and occlusions
Zoom into hair against the background, glasses, earrings, fingers near the face, and the outline of the jaw. These are common places for reconstruction errors. Decorative stickers that overlap hair or eyes deserve especially close review.
5. Background preservation
Filter removal should not quietly replace signs, furniture, architecture, or other people. Compare recognizable background details side by side. If the filter only affected the subject, an unexpected background rewrite is a reason to try a narrower mode.
How to improve a weak result
A disappointing first output does not always require a stronger prompt. Use the smallest intervention that addresses the actual failure.
If the skin looks too smooth
Confirm that you selected Beauty filter or All filters. Use the best-resolution source and avoid pre-processing it with denoise software. Excessive denoising removes the same fine detail you want the reconstruction to restore.
If the color becomes too neutral
Some photographs are supposed to be warm, cool, or saturated. Add a brief instruction to preserve the environmental light, such as “keep the warm sunset lighting.” Alternatively, choose Beauty filter so the original color treatment remains.
If the face changes too much
Try Color filter when the dominant problem is a preset rather than facial retouching. If beauty correction is necessary, compare multiple results and reject any version that changes stable identity cues. AI output should not be used for passports, legal records, identity verification, or evidence.
If a sticker leaves a strange patch
Treat the remaining area as a separate cleanup task. A focused inpainting tool can be more controllable for a small overlay after the overall filter has been corrected. Work on one region at a time and keep the unedited source available for comparison.
If the image is soft after reconstruction
Decide whether the softness comes from the original, compression, or the generated result. For an old or physically damaged scan, the photo restoration tool may be more appropriate than repeatedly sharpening a filter-removal output. For a clean but undersized image, upscale only after you approve the face and color.
Phone workflows: iPhone, Android, Instagram, and Snapchat photos
The workflow is essentially the same on a phone and desktop: save the best available copy, upload it in a browser, select the removal mode, compare, and download.
For an Instagram or Snapchat image, first check whether the unfiltered photo still exists in the camera roll, cloud backup, drafts, or the app’s saved memories. Recovering that file is always better than reconstructing it. Also distinguish between removing an on-screen filter name or interface label and removing the visual filter itself. A label is an object-removal task; a color or face effect is a reconstruction task.
If the photo belongs to someone else, get permission before uploading it. Removing a beauty filter can be sensitive even when the intention seems harmless. Do not use the output to shame someone, claim that you exposed their real appearance, or imply that generated facial details are factual.
When manual editing is enough
You may not need AI for a mild color preset. A conventional editor can often improve an image with white balance, tint, exposure, highlights, shadows, saturation, and curve adjustments. Manual controls are preferable when you want predictable global changes and the filter did not alter facial structure.
AI is more useful when several effects interact—for example, a color cast combined with skin smoothing, virtual makeup, and a decorative overlay. It can also help when you do not know which sliders produced the edited look.
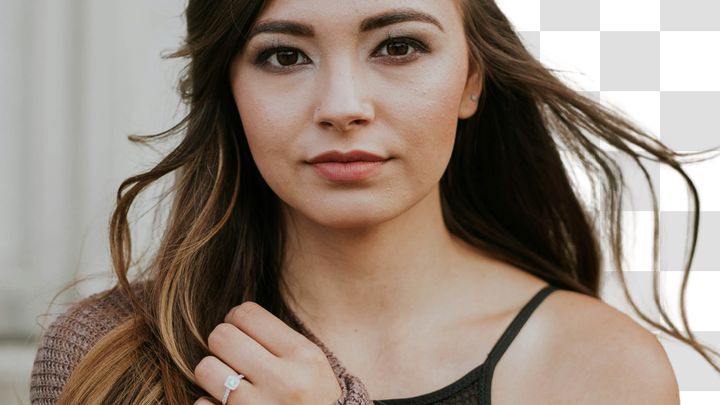
After the correction, use purpose-specific tools rather than asking one generation to do everything. The background remover is appropriate when the final image needs a transparent or replaceable backdrop. The AI makeup try-on is a separate creative step if you intentionally want to test makeup after returning to a more natural baseline.
What filter removal cannot promise
A responsible workflow has clear limits:
- It cannot recreate the exact original pixels after they have been discarded.
- It cannot prove a person’s unedited appearance.
- It may invent plausible skin texture, hair strands, or covered background details.
- It can reproduce or amplify bias about what “natural” skin and facial proportions should look like.
- It should not be used to defeat privacy protections or create misleading evidence.
Keep the original and label the result appropriately when context matters. “AI-assisted filter reconstruction” is more accurate than “original photo restored” unless you truly recovered the source file.
A practical workflow for the most natural result
For most photos, this order works well:
- Search for the original unfiltered file.
- Choose the highest-quality filtered copy if the original is unavailable.
- Crop away app interface elements without removing scene context.
- Select Color, Beauty, or All filters based on the visible edits.
- Add one short preservation note only when necessary.
- Generate, then inspect identity, skin, color, edges, and background at full size.
- Save the output as a new file.
- Make any object removal, background, restoration, or upscaling edits separately.
- Keep both versions and disclose AI reconstruction when accuracy matters.
This staged approach is slower than piling every request into one prompt, but it is easier to evaluate and correct.
Frequently asked questions
Can I restore the exact original photo after a filter was saved?
Usually not. If the unfiltered file is gone, a filter remover can estimate a natural-looking version but cannot recover information that the saved edit discarded. Check camera-roll backups, cloud storage, drafts, and app memories first.
Which mode should I use for an Instagram color preset?
Start with Color filter. It is designed to address tints, fades, contrast treatments, vignettes, and grain while leaving the face unchanged. Move to All filters only if facial smoothing or reshaping is also visible.
Can AI remove a Snapchat beauty filter?
It can reduce the visible effect of smoothing, enlarged eyes, face slimming, virtual makeup, and similar edits. The result remains an estimate, especially where the filter changed geometry or covered details.
Can I remove only a color filter and keep the face untouched?
Yes. The Color filter mode is intended for that distinction. It targets the grade while preserving the face as shown in the input.
Does the imageat filter remover work on screenshots?
Yes. It accepts screenshots as well as JPEG, PNG, and WebP images up to 10MB. A direct export is preferable because screenshots and repeated sharing can reduce detail.
Is the filter remover free?
Sign-up is free, but each photo costs 6 credits. The current tool page states that results are 2K, have no watermark, and failed generations are refunded.
Should I upscale before or after removing the filter?
Usually remove the filter first so you can judge identity and reconstruction without adding sharpened compression artifacts. Upscale the approved result when the final use requires more pixels.
Can I use a reconstructed photo as evidence?
No. Generated details are estimates. Do not use the output for identity documents, legal proof, forensic claims, or any situation that requires an authentic original.
Get a cleaner starting point
The most honest goal is not to uncover hidden truth from a flattened image. It is to create a careful, natural-looking reconstruction while preserving the person and scene. Start with the best source, choose the narrowest correction mode, and inspect the result closely. When you are ready, remove the filter from your photo with imageat, then keep the original beside the result for comparison.