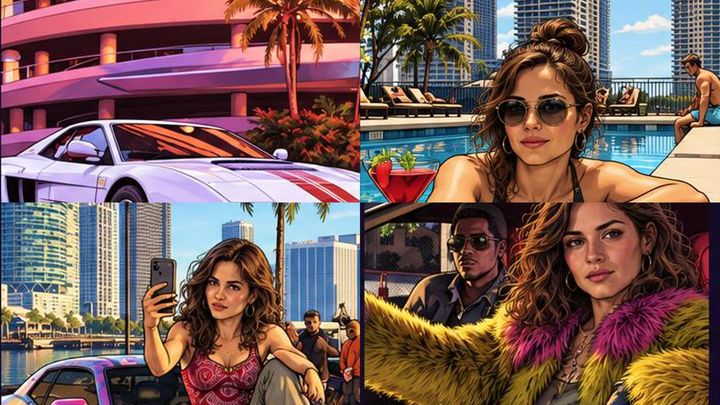
The quality of a GTA 6 style edit depends heavily on the photo you start with. A clear face, suitable crop, and composition that matches the chosen scene give the AI better information to work with. Before using the GTA 6 AI photo generator, spend a minute checking whether your source image fits the preset you want.
This guide focuses on choosing and preparing photos for solo portraits, couples, crews, and action scenes before generating fictional Vice City-inspired fan art.
The short answer: what makes a good source photo?
For most GTA 6 style AI edits, choose a photo with:
- A clearly visible face
- Sharp focus around the eyes and facial features
- Even or directional lighting without extreme shadows
- Enough space around the subject for reframing
- Minimal obstruction from hands, hair, sunglasses, or objects
- A pose and camera angle that suit the selected preset
- The correct number of visible people for a solo, couple, or group scene
- A JPG, PNG, or WebP file no larger than 10 MB
A high-resolution photo is helpful, but composition matters more than raw megapixels. A sharp phone portrait with a clean view of the subject is usually a better input than a large, heavily compressed image downloaded from social media.
Uploading an image is optional on the generator. However, if you want the result to resemble a specific person, outfit, couple, or group, a well-prepared reference photo gives the model a stronger visual foundation.
Choose a photo that matches the preset
Do not select a source image based only on how flattering it looks. Think about the final scene. A close selfie is useful for a character portrait or mugshot, but it contains little information for a full-body motorcycle or beach composition.
The closer the source photo’s subject count, angle, and pose are to the intended preset, the less the AI has to invent.
Best solo photos
For a single-character edit, use a photo containing one obvious main subject. Other faces in the background may confuse identity and composition.
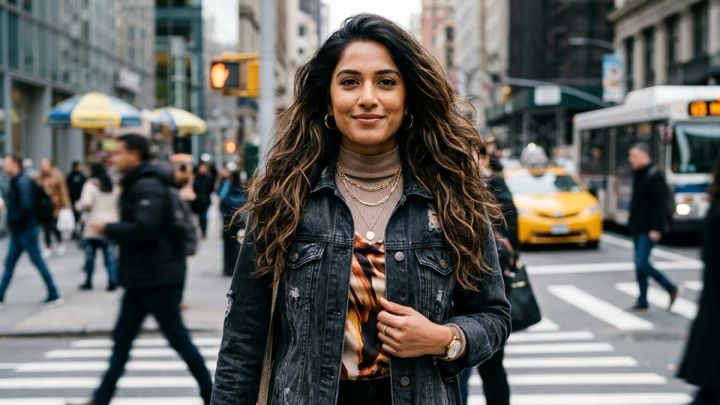
A good solo reference has:
- The subject facing the camera or turned no more than about three-quarters
- Both eyes visible, unless the intended style calls for a side profile
- Shoulders included for portrait scenes
- Waist, legs, or full body included for action and lifestyle scenes
- Some empty space above and beside the subject
- Clothing that contrasts with the background
Avoid tiny faces in wide landscapes, severe beauty filters, motion blur, or photos in which another person is partly cropped into the frame.
Solo photos are especially suitable for:
- In-Game Character Selfie: Use a close or medium selfie with natural facial detail. Keep the phone out of the face area and avoid an ultra-wide lens held too close.
- Vice City Mafia Boss: Choose a confident seated or standing portrait. Formal clothing, a jacket, or a clean upper-body pose can support the scene.
- WANTED Mugshot Poster: Use a straight-on head-and-shoulders photo with a neutral expression and minimal head tilt.
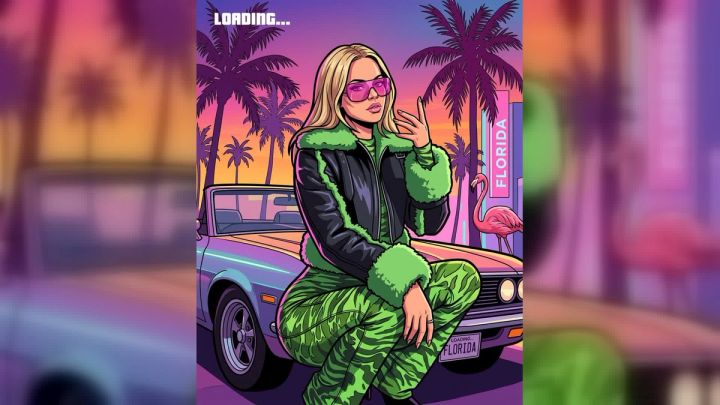
- Loading Screen Art: A medium or three-quarter portrait gives the composition room for illustrated clothing, props, and a cinematic background.
- Downtown Night Cover: Pick a clean portrait with visible shoulders or torso. Directional lighting can work if facial details remain readable.
- Ocean Drive Illustration: Use a relaxed portrait or waist-up lifestyle image with a simple silhouette.
- Vice Beach Lifestyle: A waist-up or full-body outdoor photo works better than a tightly cropped passport-style image.
- Neon Wheelie: Use a full-body or action-oriented pose when possible. A close headshot provides little body-position information.
Best couple photos
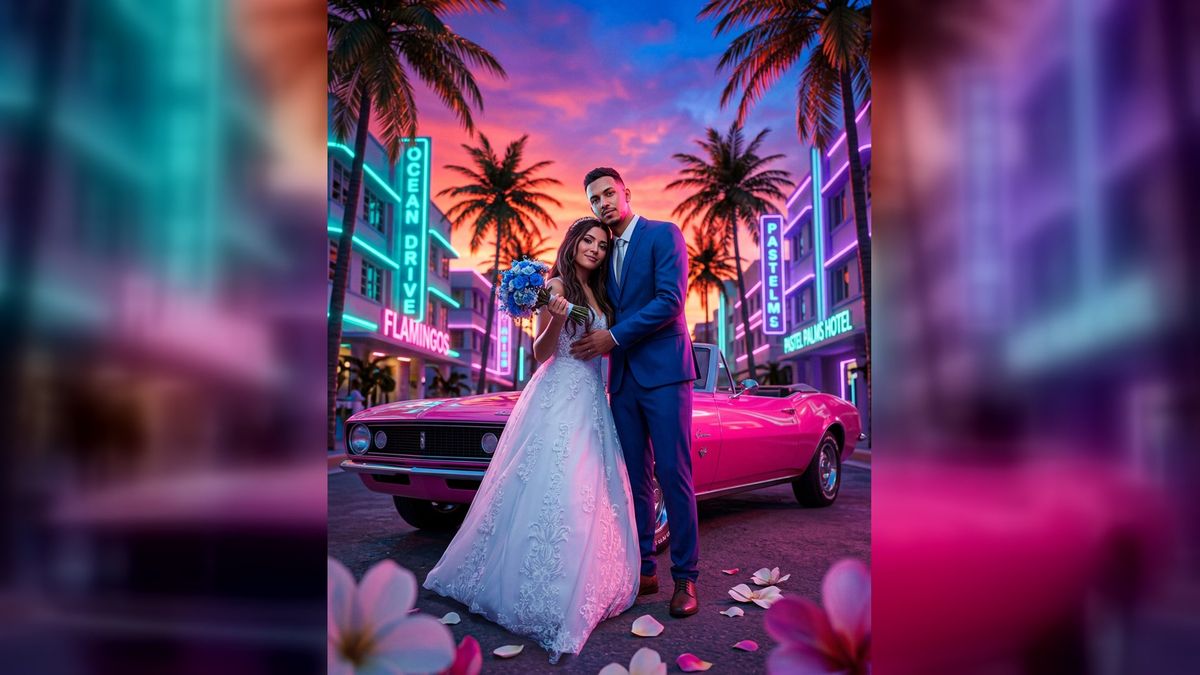
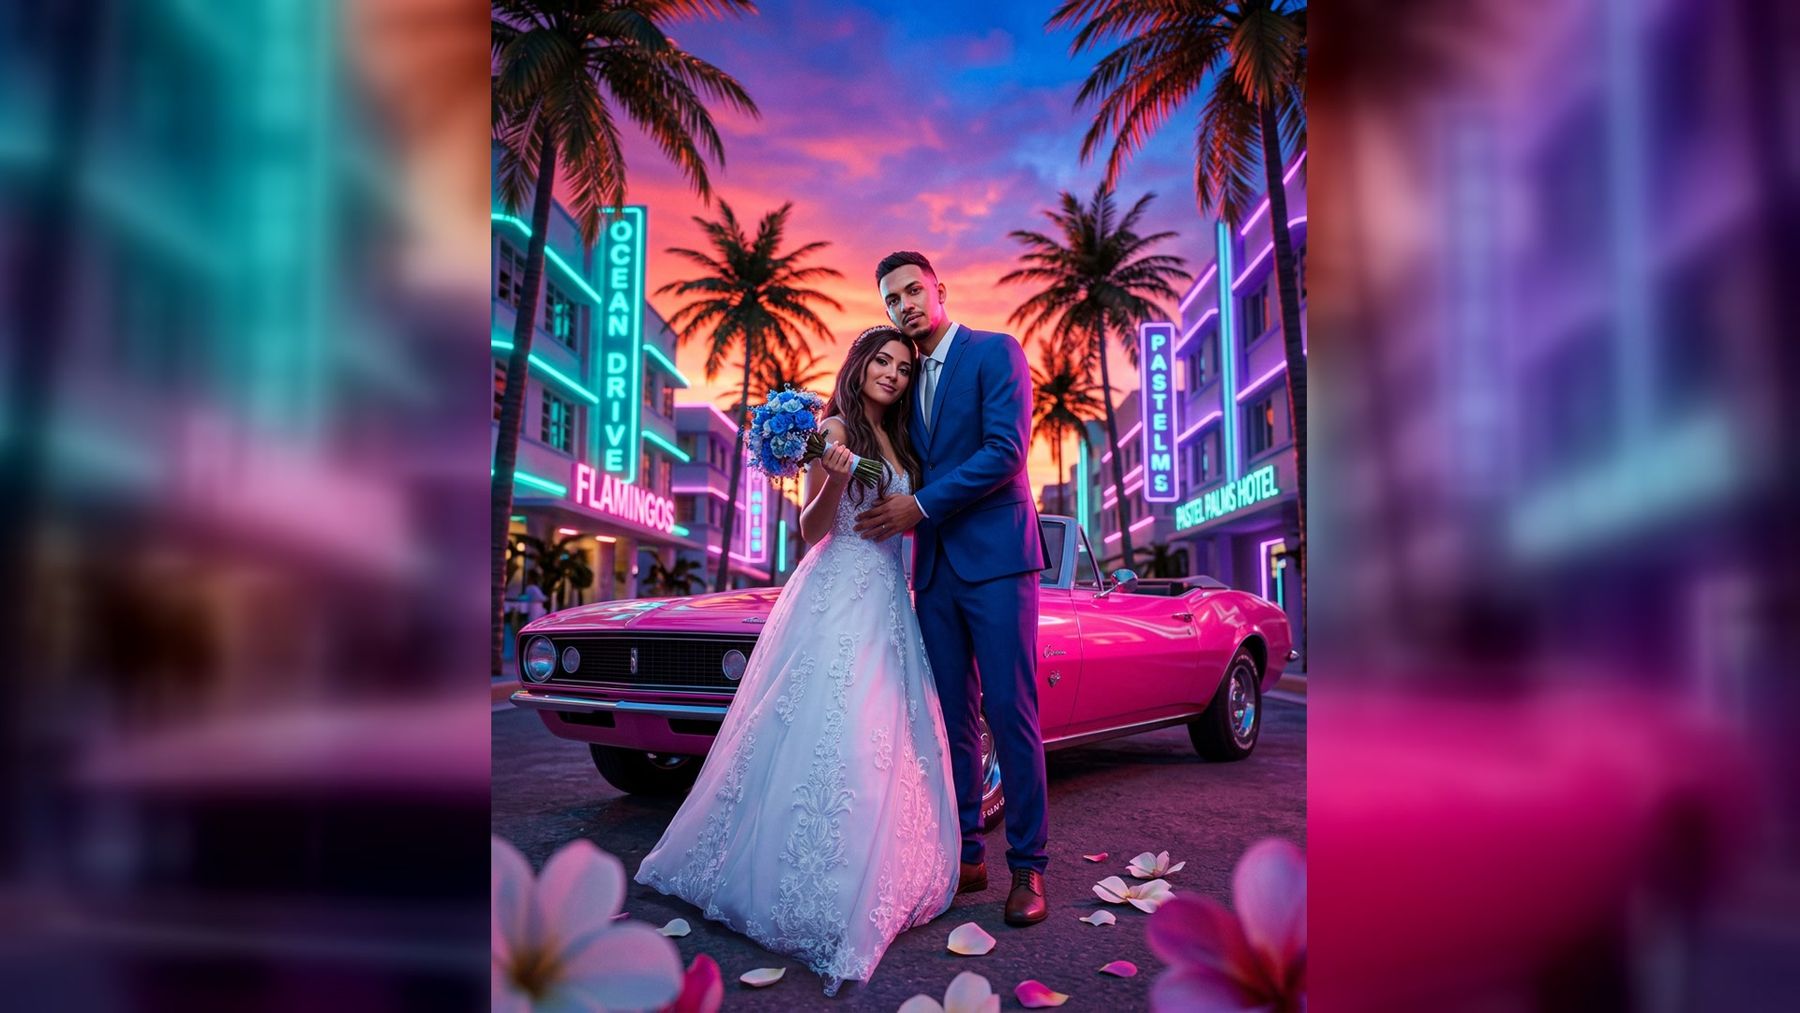
For Vice City Couple Cover, start with one photo containing both people if possible. This helps preserve relative height, body position, and visual chemistry.
Look for:
- Both faces in similar focus
- Comparable lighting across both subjects
- No face hidden behind the other person
- Clearly separated silhouettes
- A waist-up, three-quarter, or full-body crop
- Natural space around the pair
- Similar distance from the camera
Avoid combining one sharply lit face with another hidden in deep shadow. Also avoid photos where one person is very close to the lens and the other is far behind; perspective distortion can make their proportions difficult to translate.
If you only have separate portraits, combine them into a simple side-by-side reference with the AI photo editor before generating. Keep both heads at roughly the same scale and do not overlap faces.
Best group photos
For Vice City Crew, use a group image with clearly visible, separated faces. Three or four readable subjects generally provide a cleaner reference than a crowded party photo.
Choose a group photo where:
- Everyone is looking in roughly the same direction
- No one is hidden behind another person
- Faces are large enough to inspect without heavy zooming
- Lighting and focus are consistent across the group
- Hands do not cover faces
- The frame includes enough of each person’s outfit or pose
- Background strangers can be cropped out
If the image contains many people, crop around the intended crew rather than asking the AI to determine which faces matter. You can use the image resizer to create a more focused canvas.
Best action photos
Action presets need more than facial identity. Body orientation, limbs, and open space influence whether the generated scene feels believable.
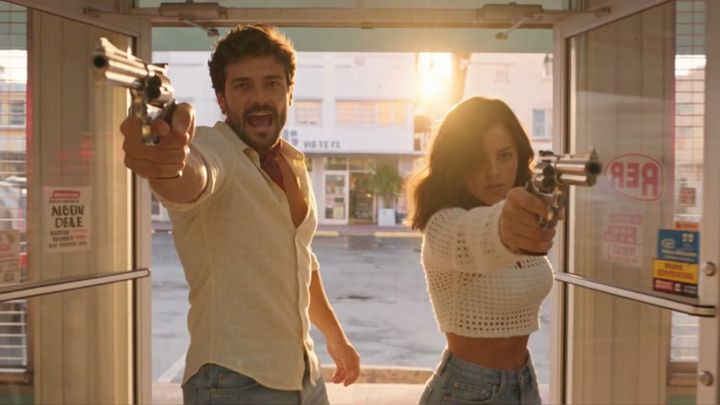
For Jet Ski Chase or Neon Wheelie, favor:
- Full-body or three-quarter-body images
- Athletic, leaning, seated, or forward-facing poses
- Clearly visible arms and shoulders
- A subject separated from the background
- Room in front of the subject to imply movement
- Fast-shutter images with limited motion blur
The original photo does not need to contain a jet ski or motorcycle. A similar body angle can still help. For example, a seated pose with hands forward may translate more naturally into a riding scene than a tightly cropped studio headshot.
Do not use a real dangerous stunt photo merely to improve the output. A safe posed image with a suitable body angle is enough for fictional fan art.
Crop for the final 4:5 portrait
The current generator output is a 2K image in a 4:5 portrait format. Prepare the source with that vertical destination in mind, even if the uploaded image uses a different aspect ratio.
For better framing:
- Keep the face away from the extreme top edge.
- Leave room above hair, hats, or helmets.
- Avoid cutting through joints such as wrists, elbows, knees, or ankles.
- Place a solo subject near the center unless the scene needs directional space.
- Keep couples and crew members inside a balanced central area.
- Leave visible background around a full-body subject so the AI can rebuild the scene.
A square selfie can still work for a portrait preset, but it may offer too little body information for lifestyle or action art. If the source is very wide, crop distractions while retaining enough room around the main subject.
Use clear, balanced lighting
Soft daylight, open shade, or a gentle front or side light makes facial structure easier to read. Avoid blown highlights, black shadows over the eyes, flash reflections on glasses, and extreme mixed color casts. If the photo is too dark, make a restrained exposure adjustment instead of applying a strong filter.
Check resolution, sharpness, and compression
The generator accepts JPG, PNG, and WebP files up to 10 MB. Use the best-quality version you have rather than a screenshot or an image repeatedly saved through messaging apps.
Inspect the face at normal viewing size. Eyes, nose, mouth, and hair should have clean edges without compression blocks, artificial sharpening halos, or a beauty filter that erases identity details.
If the only available source is small, try the image upscaler. Upscaling can improve dimensions and presentation, but it cannot perfectly recover identity details that were never captured. A naturally sharp original remains the best option.
Simplify distracting backgrounds
A plain background is not mandatory because the preset will reinterpret the scene. Still, visual clutter can make the main subject harder to isolate.
Crop extra faces, mirrors, text crossing the body, and objects that obscure the silhouette. Use remove background when separation is difficult, then check the edges around hair, fingers, and clothing before uploading.
For more composition ideas related to illustrated character panels, read imageat’s guide to GTA loading-screen art style.
Troubleshooting weak results
The face does not resemble the source
Try a sharper image with a larger face, fewer filters, and a more direct angle. Remove sunglasses or anything covering key features. If the source contains multiple faces, crop it to the intended subject.
The body or hands look awkward
Use a source that shows the relevant body parts clearly. Avoid crossed arms, hidden hands, cropped joints, and complex overlapping poses. For action presets, choose a wider photo rather than a headshot.
The wrong person becomes the main character
Crop out background people. For group edits, arrange the intended subjects clearly and keep their faces at usable sizes.
The composition feels too tight
Choose an uncropped original or expand the canvas before generating. The 4:5 portrait output needs space for vehicles, scenery, and illustrated framing.
Clothing or hair changes too much
Use a source with clear edges, balanced exposure, and limited obstruction. Keep expectations flexible: a stylized preset may reinterpret fine details rather than reproduce every item exactly.
The result looks noisy or overprocessed
Replace screenshots and compressed downloads with the original image. Avoid stacking sharpening, denoising, beauty filters, and upscaling before upload.
Privacy, consent, and responsible fan-art use
Only upload images you have the right to use. Get permission before using another person’s face, especially for couple, crew, mugshot, crime-themed, or suggestive scenes. Do not use private photos without consent, and take extra care with images of minors.
Treat the outputs as fictional fan art. Do not present a generated WANTED poster, mafia scene, or action image as evidence of real conduct. Avoid misleading impersonation, harassment, or content designed to damage someone’s reputation.
GTA-inspired aesthetics should also be framed as unofficial creative work rather than official game artwork, endorsement, or a real screenshot.
Frequently asked questions
Do I need to upload a photo?
No. Uploading is optional. A reference image is most useful when you want the edit to reflect a particular person, couple, crew, outfit, or pose.
What file types can I upload?
The current page supports JPG, PNG, and WebP images up to 10 MB.
What is the best aspect ratio for the source photo?
There is no single required source ratio, but a vertical image with space around the subject is easiest to adapt to the current 4:5 portrait output. Avoid extremely tight crops.
Can I use a selfie?
Yes. A sharp selfie is well suited to In-Game Character Selfie, WANTED Mugshot Poster, Loading Screen Art, and some cover-style presets. Use a wider portrait for action or full-body scenes.
Can I use separate photos for a couple or crew?
A single photo containing everyone usually gives the clearest composition. If necessary, place separate portraits on one simple canvas, match their scale and lighting as closely as possible, and avoid overlapping faces.
Which model and settings are currently used?
At the time of writing, the page lists Nano Banana 2.1, 2K output, and a 4:5 portrait format. The displayed generation cost is currently 6 credits. Models, costs, supported settings, and configuration can change, so check the generator page for the latest details before creating.
Prepare the photo, then choose the scene
The best source image is not always the most polished portrait. It is the photo that clearly communicates the people, pose, and framing needed by the selected preset. Start with visible faces, clean lighting, useful body information, and enough space for a vertical composition. Match solo portraits to character presets, balanced two-person photos to couple covers, separated faces to crew art, and wider poses to action scenes.
Once your reference is ready, open the imageat GTA 6 AI photo generator, choose the preset that best matches the source, and create your fictional Vice City-inspired edit.