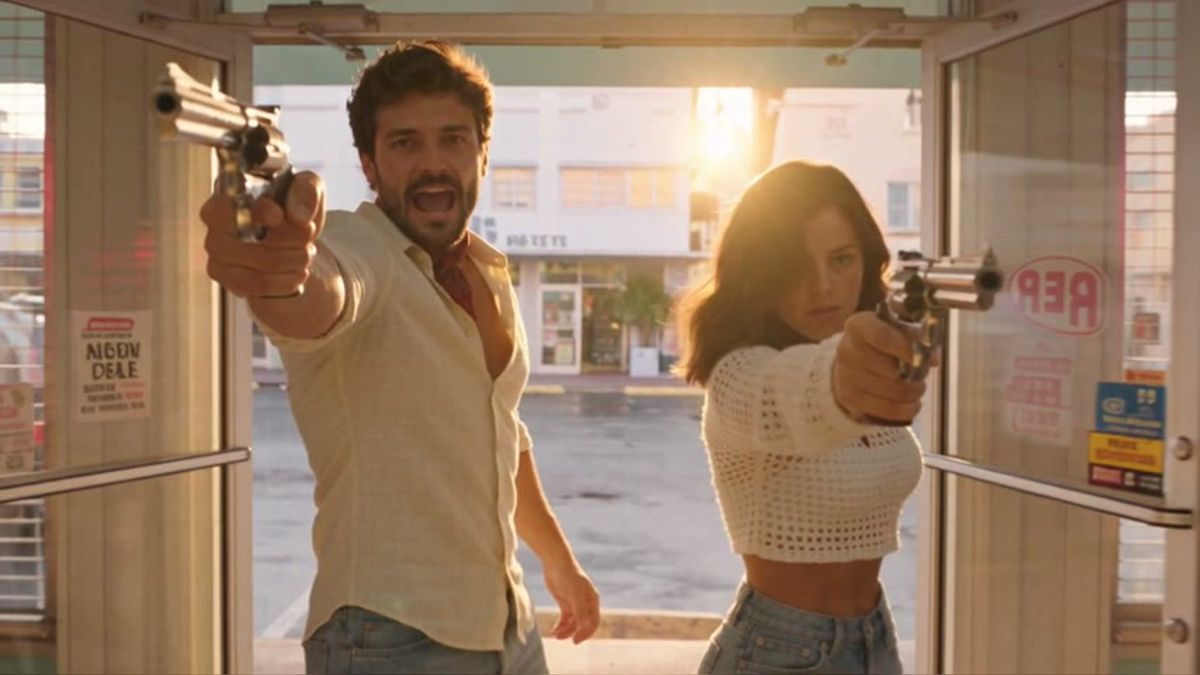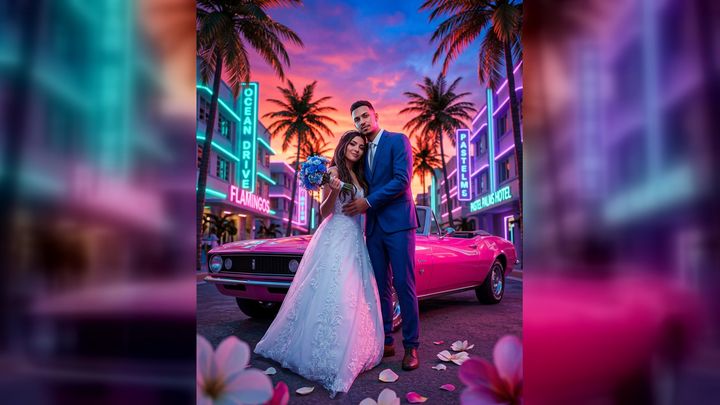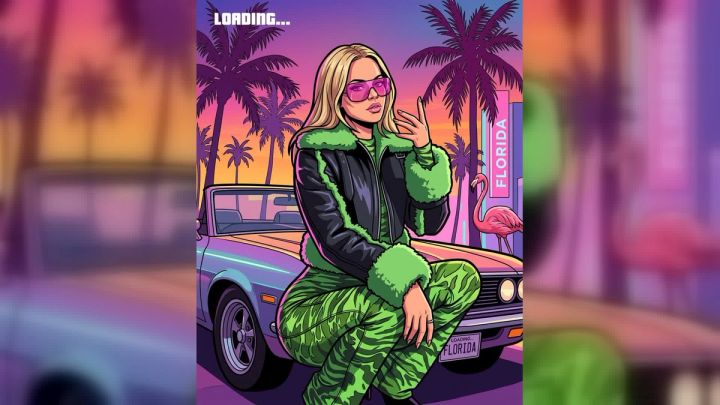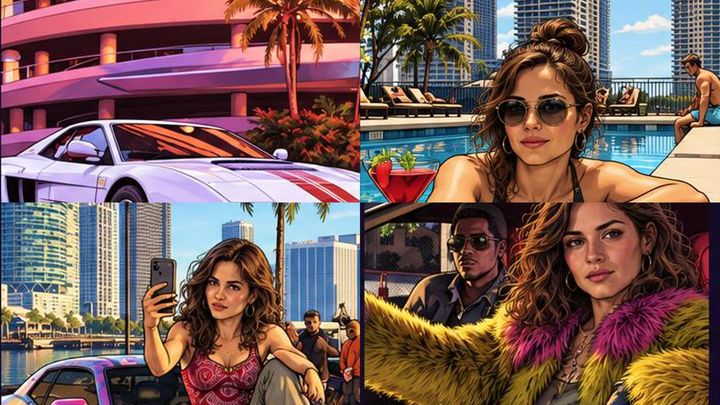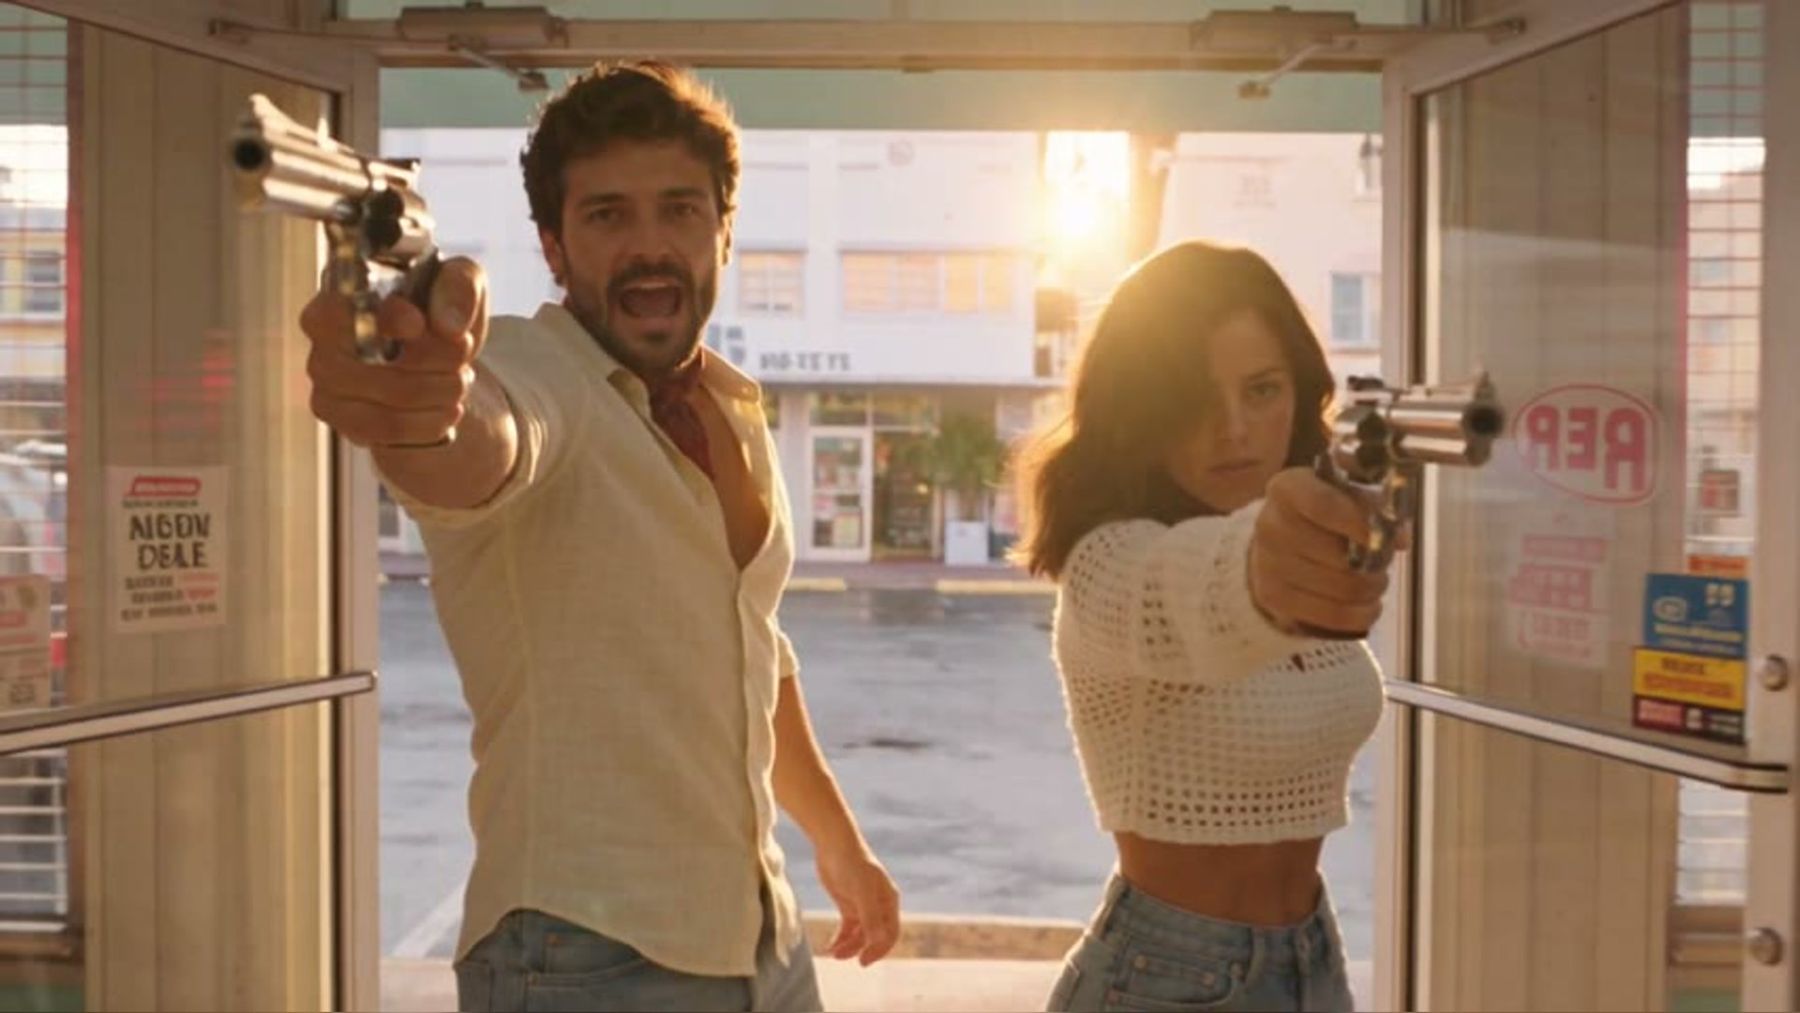
You do not need to film a chase scene, rent a sports car, or learn complex animation software to put yourself in a neon-lit crime-game-inspired video. With the imageat GTA 6 style AI video generator, you can choose a ready-made scene, upload a clear photo, and generate a short vertical MP4 with sound.
The process is designed for quick social content rather than manual video production. The angle, lighting, expression, and visibility of your face still affect the result. This guide covers photo preparation, solo and duo templates, troubleshooting, and posting.
What is a GTA 6 style AI video?
A GTA 6 style AI video places your likeness into a fictional scene inspired by the atmosphere associated with modern open-world crime games: bright sunsets, coastal roads, dramatic vehicles, desert chaos, bold color grading, and cinematic character shots.
It is best understood as stylized fan art, not footage from an official game. The result may borrow broad visual ideas such as neon nightlife, tropical streets, action-film framing, or illustrated promotional art, but it should not be represented as an official trailer, leaked gameplay, or material endorsed by a game publisher.
imageat is not affiliated with Rockstar Games or GTA. When posting your result, describe it as an AI-generated, game-inspired, or fictional fan-art video.
What you need before you start
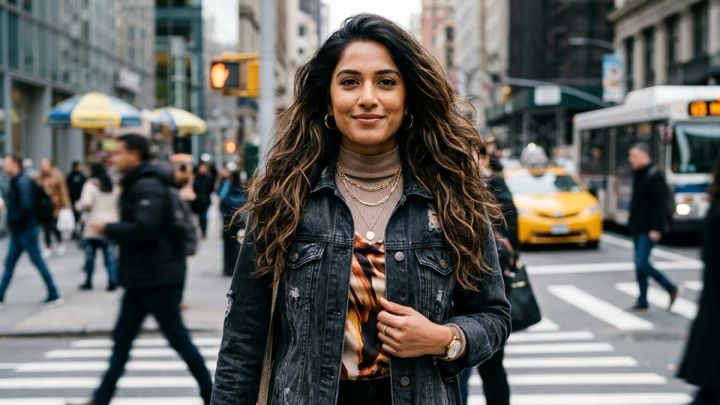
Prepare one clear, front-facing photo for a solo template or one photo of each participant for a duo template. You also need permission from every identifiable person whose image you upload. Editing software is optional because the generated clip already includes motion and sound.
The current generator produces vertical 9:16 MP4 videos with sound. Depending on the selected template and output option, videos are available in 480p or 720p. Generation usually takes about 3–8 minutes, although processing time can vary.
If your goal is a moving social clip, confirm that you are selecting a video template rather than a still-image effect.
How to prepare the best source photo
Use a front-facing angle
Choose a photo in which your face points toward the camera. A slight turn may be acceptable, but avoid strong side profiles unless the selected template clearly calls for one.
Both eyes should be visible. Your nose, mouth, jawline, and hairline should not be hidden behind objects, hands, heavy shadows, or another person.
Choose even lighting
Soft daylight or balanced indoor lighting works well. Avoid:
- Strong backlighting
- Colored light covering the entire face
- Deep shadows across one eye
- Overexposed skin
- Very dark nighttime selfies
- Harsh beauty filters that remove facial detail
The template applies its own stylized lighting, so your upload does not need to look cinematic already.
Upload a sharp, recent image
Use a photo that accurately represents how you want to appear. Avoid screenshots, tiny crops, motion blur, and heavily compressed images. A head-and-shoulders portrait is generally safer than a full-body photo because the face occupies more of the frame. Leave a little space around your head instead of cropping through the hair or chin.
A neutral, confident, or lightly smiling expression is versatile. Large sunglasses, masks, low hats, and hair covering the eyes may reduce facial consistency.
For a solo video, upload an image containing one clearly identifiable person. For a duo video, use the separate upload field for each participant rather than submitting one group shot and expecting the generator to separate the faces.
How to make your GTA 6 style video
1. Open the generator
Go to the GTA 6 style AI video generator. Review the available examples before uploading anything. The previews help you understand the movement, framing, mood, and number of people expected by each template.
2. Choose a scene
Current scene choices include:
- Sunset Pier Swap GTA Moment: A sunset-oriented coastal setup with a dramatic character-focused transformation.
- Desert Chaos Walk: A more action-heavy desert scene suited to a bold solo portrait.
- Vice City Getaway Duo: A two-person escape-style scene intended for separate photos of two participants.
- Vice City Collage: A multi-panel visual treatment built around colorful city and character imagery.
Scene availability can change, so use the live preview and description on the generator as the final reference. A scene with immediate motion can work as a short-form opening, while a collage can be useful for a profile reveal or music-led edit.
3. Confirm whether it is solo or duo
A solo template requires one photo. Uploading a picture with two people may cause the generator to blend identities, focus on the wrong face, or produce unstable features.
For Vice City Getaway Duo or another duo template, upload one photo per person in the designated positions. Use portraits with similar image quality when possible. If one photo is bright and sharp while the other is dark or distant, one character may look more consistent than the other.
Check the order before generating. The first and second photo slots may correspond to different positions in the scene.
4. Upload the source photo or photos
Select your files and wait for each upload to finish. Review the thumbnails:
- Is the correct face visible?
- Is the image upright?
- Did you upload each person to the intended slot?
- Is the face large enough to identify?
- Do you have consent to use every photo?
Replace a questionable image now rather than spending a generation on a weak source.
5. Select the output option
Choose a video option and the available resolution that fits your needs. A 720p output generally gives you more detail for social posting and later editing, while 480p can be useful when you need a smaller file.
The cost is shown for each template on the live page. Check it before starting because costs and available configurations can change; this guide does not freeze a price.
6. Start generation
Submit the job and keep the page open while imageat processes it. Generation normally takes approximately 3–8 minutes. More complex scenes or periods of high demand may take longer. Avoid repeatedly clicking the generation control because multiple submissions may create separate jobs.
7. Preview and download the MP4
Watch the complete result before downloading. Check:
- Facial resemblance
- Hands and accessories
- Transitions between shots
- Character order in duo scenes
- Motion near the edge of the frame
- Audio playback
- Whether the ending is clean enough to loop
Download the final vertical MP4. If you want to animate a different still outside the themed templates, the general image-to-video generator may be a better fit.
Solo vs. duo: which format should you choose?
Choose a solo video when the post centers on your own character reveal, outfit, persona, or profile. Solo source preparation is simpler, and one clear face gives the model fewer identities to track.
Choose a duo video for couples, friends, siblings, or collaborators. Duo scenes can create a stronger narrative, but they require two good source images and permission from both people.
For a balanced duo result:
- Use one photo per person
- Match the portraits loosely in angle and clarity
- Avoid using the same photo in both slots
- Do not substitute a celebrity or private individual without permission
- Tell the other participant that AI will be used before uploading their image
If you need a still cover instead, use the dedicated GTA 6 AI photo generator, which offers portrait-oriented poster and character styles.
Troubleshooting common problems
The face does not look enough like me
Try a sharper photo with a larger, front-facing face. Remove sunglasses and use more even lighting. A heavily filtered selfie may contain less useful identity detail than an ordinary camera photo.
The face changes during the clip
Some variation can occur as the character moves through different angles and lighting. A neutral portrait with visible facial features usually improves consistency. If the change is severe, generate again with a cleaner source.
Two faces are blended together
Make sure you selected a duo template and used separate files in the correct upload fields. Do not use a group photo for one slot. Crop each original so only the intended participant is prominent.
The wrong person appears in the wrong position
Review the first and second upload slots. Swap the files and regenerate if the template maps those positions differently from what you expected.
The upload is rejected or looks blurry
Use a common image format and a higher-quality original rather than a messaging-app thumbnail or screenshot. Re-export the image upright if its orientation metadata causes it to rotate.
The generation seems stuck
Wait longer than the usual window before resubmitting, especially during busy periods. Check your connection and refresh only if the page clearly reports an error.
The video file is too large
Use the video compressor to reduce its size before uploading or sending it. Keep the original because the social platform may apply additional compression.
How to edit and post the result
The generated MP4 is already vertical 9:16, which suits TikTok, Instagram Reels, and YouTube Shorts. You can post it directly or make a short edit first.
Useful additions include:
- A one-line setup before the transformation
- Your name or fictional character name
- On-screen disclosure such as “AI-generated fan art”
- Captions that remain inside the center safe area
- A freeze-frame at the end
- A quick cut synchronized to an existing transition
- A custom cover selected from the clearest frame
Avoid placing important text at the extreme top or bottom, where platform controls may cover it. Preview the post inside the platform before publishing.
The MP4 already includes sound. If you need the audio as a separate file for an edit, use the MP4-to-MP3 converter. Confirm that you have the right to reuse any audio you add.
Do not caption the video as real gameplay, an official GTA 6 scene, or a leak. Clear fictional framing protects viewers from confusion and makes the creative intent easy to understand.
Consent, deepfakes, and responsible use
Only upload your own image or one you are authorized to use. If another person appears in a duo scene, obtain their informed consent before uploading and before posting the result publicly.
Do not use the generator to impersonate someone, fabricate evidence, deceive viewers, harass a private individual, or suggest that a person participated in an event that never happened. Extra care is necessary when a realistic face is combined with crime, weapons, police activity, or other sensitive fictional situations.
Never create sexualized, exploitative, or deceptive content involving minors. Do not use another person’s likeness for advertising, fundraising, political messaging, or reputational claims without appropriate authorization.
A responsible caption can be simple: “AI-generated fictional fan-art video.”
Frequently asked questions
Do I need to write a prompt?
Not for the ready-made GTA 6 style templates. You choose a scene and provide the requested photo or photos. The template controls the main visual direction and motion.
How many photos do I need?
Solo templates require one clear photo. Duo templates require one photo per person.
What format is the finished video?
The generator produces a vertical 9:16 MP4 with sound, available in 480p or 720p depending on the selected option.
How long does generation take?
Most jobs finish in about 3–8 minutes, but processing time can vary with the scene, system demand, and job complexity.
Can I make a video with a friend or partner?
Yes. Select a duo template such as Vice City Getaway Duo and upload one clear image for each participant. Get the other person’s consent first.
Is the generator officially connected to GTA or Rockstar Games?
No. imageat is not affiliated with Rockstar Games or GTA. The generator creates fictional, game-inspired fan-art content and should not be presented as official media.
Create your video
Choose a scene, prepare a sharp front-facing portrait, and clearly label the result as fictional AI fan art when you share it. To begin, open the imageat GTA 6 style AI video generator, select a solo or duo template, upload the required photo or photos, and generate your vertical MP4.