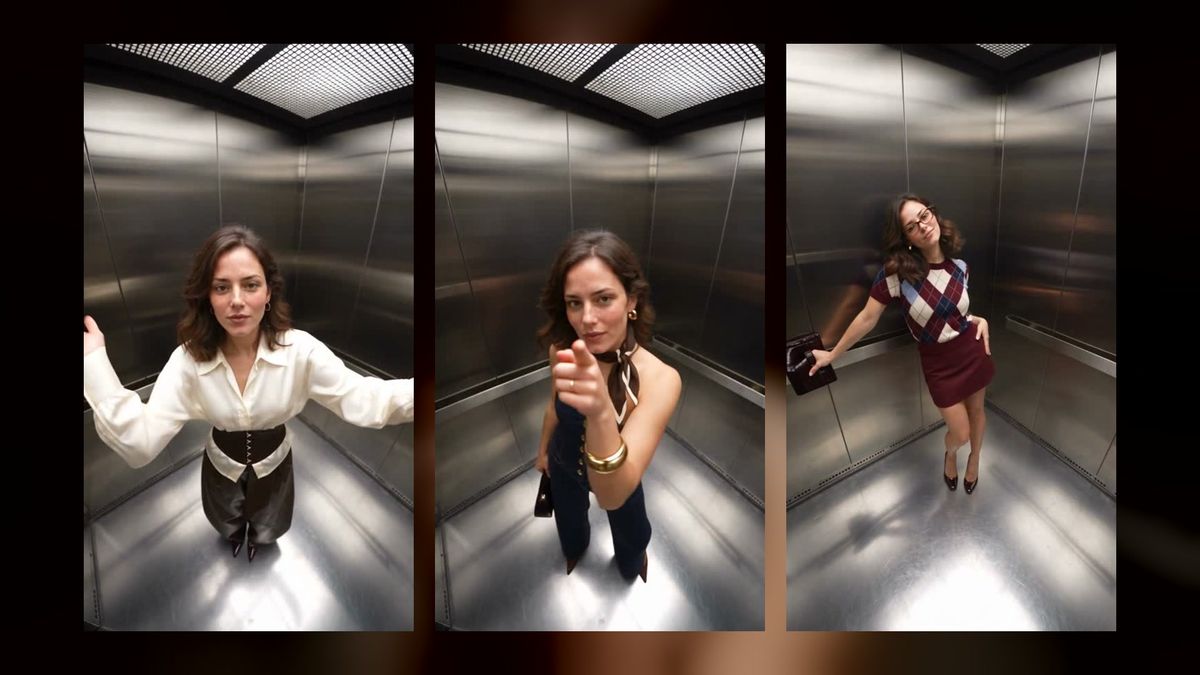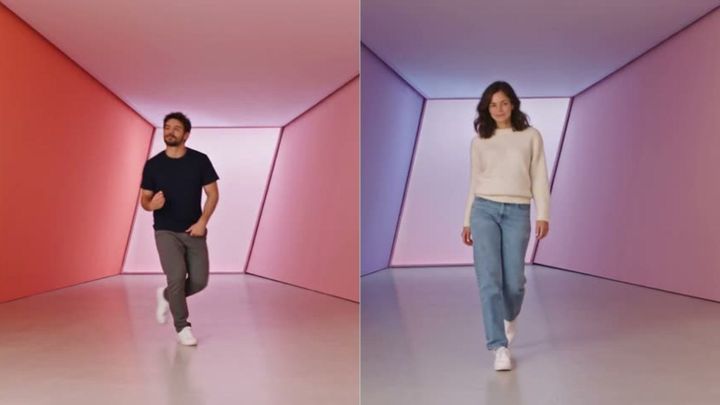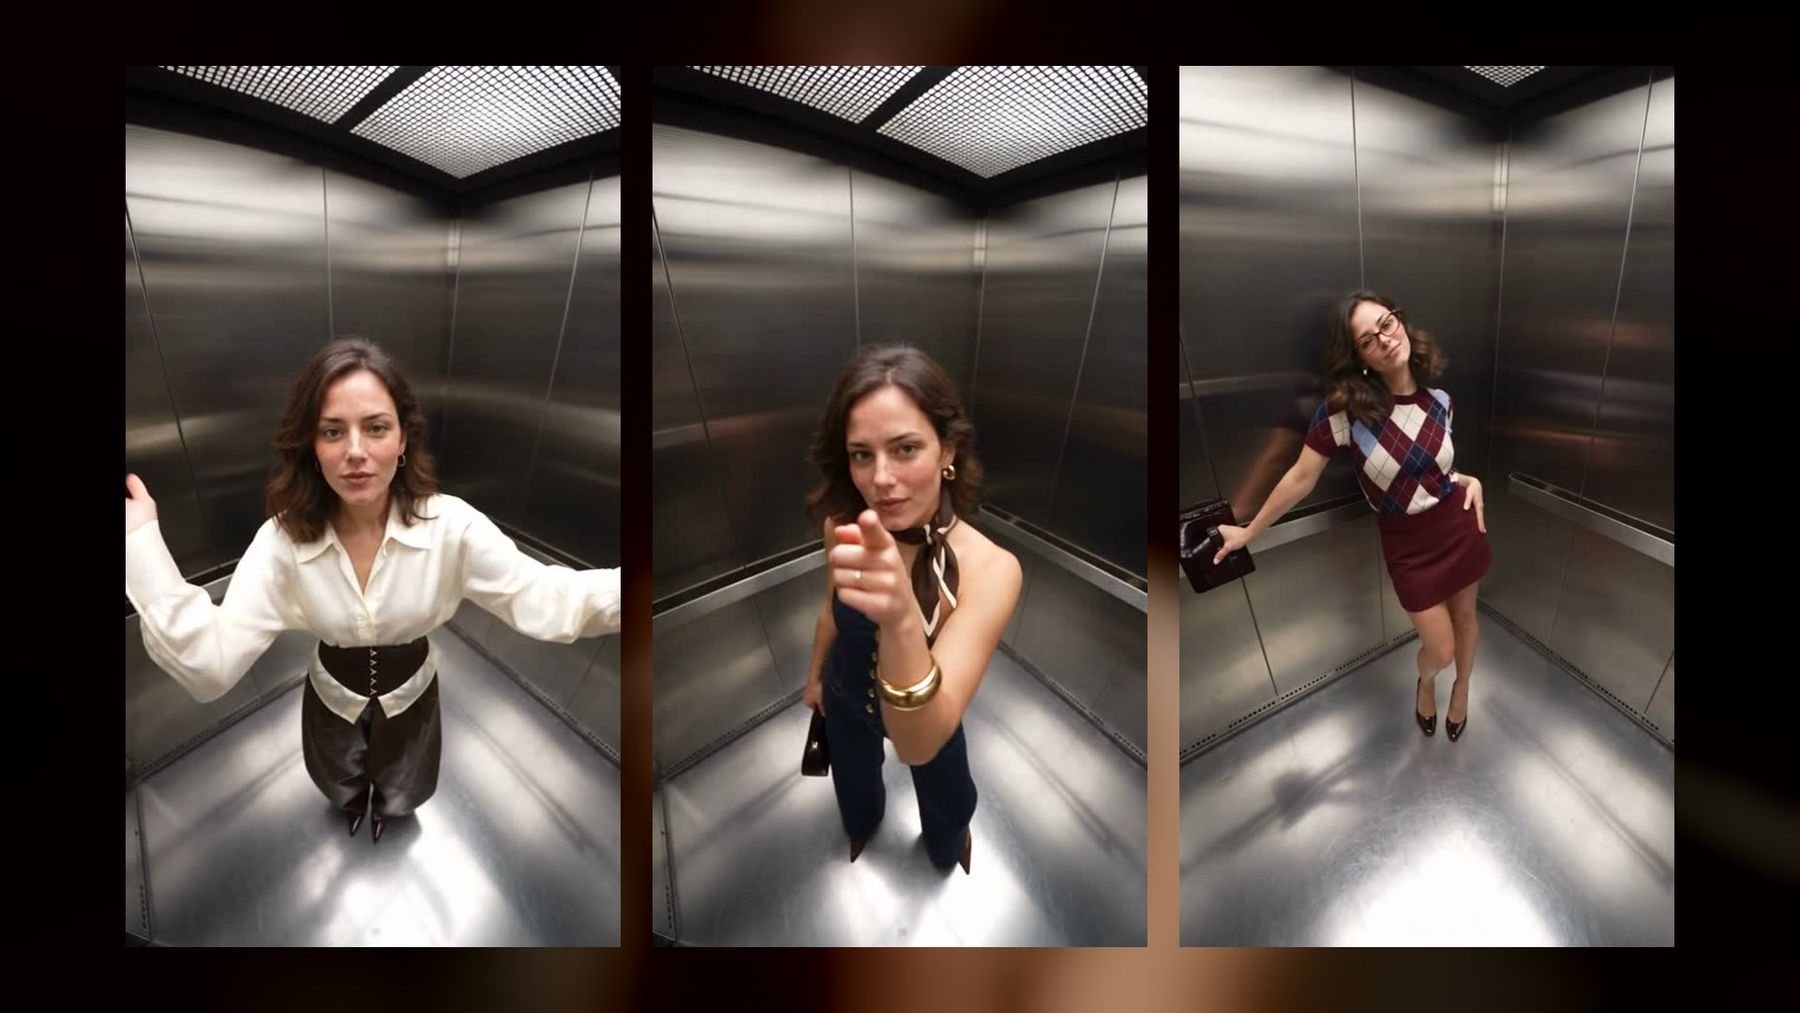
An outfit transition video turns a series of looks into one continuous visual rhythm. The effect works when your pose, camera position, and transition movement line up from clip to clip—not when you simply stack unrelated fashion shots. For a ready-made version, the Fisheye Elevator Outfit Change trend on imageat creates a vertical six-look reel from one photo, using a ceiling-mounted fisheye view and hand swipes to hide each change.
This guide covers the creative work beyond that template page: ten transition concepts, a repeatable filming plan, alignment and editing techniques, source-photo guidance, and checks for music, consent, and AI-generated fashion media. You can use the ideas for a manually filmed reel or adapt their visual logic to an AI-assisted workflow.
What makes an outfit transition look seamless?
A convincing clothes-change edit gives the eye one stable reference while something else changes. The reference might be your hand crossing the lens, a turn that ends at the same angle, a fixed elevator wall, or a repeated pose. If everything changes at once—camera height, body position, lighting, background, and outfit—the viewer sees a jump cut rather than an intentional transition.
Four ingredients matter most:
- Locked framing: the camera returns to the same position, height, focal length, and orientation.
- Matched movement: the outgoing clip and incoming clip meet at the same point in a gesture.
- A clean visual interruption: a hand, jacket, whip pan, door, or body turn briefly hides the cut.
- Beat-aware pacing: the reveal lands on a musical accent or a deliberately chosen visual beat.
Complex editing cannot rescue inconsistent source clips. Spend more time marking positions and rehearsing one transition than collecting twenty looks you cannot align.
Plan the reel before choosing every outfit
Start with a simple structure. Decide the opening look, the number of changes, the transition rule, and the final pose. Three to six outfits are usually enough to establish variety without exhausting the visual idea.
A practical sequence is:
- Hook: show the unusual camera angle or first transition in the opening second.
- Establish: hold the first look long enough for the viewer to understand it.
- Repeat: use the same transition rule for two or three changes.
- Variation: change the speed, pose, or direction once.
- Resolve: return to a favorite look or end with a clear gesture toward the lens.
Choose outfits with silhouettes that separate clearly. A jacket, wide trouser, structured collar, contrasting sleeve, or strong color block will register faster than six nearly identical basics. At the same time, maintain one connection across the looks—a color, accessory, hairstyle, or repeated pose—so the reel feels curated rather than random.
10 outfit transition video ideas
These are production frameworks, not rigid scripts. Adapt the number of looks, location, camera distance, and styling to your own concept.
1. Hand-swipe lens cover
Move one open hand toward the lens until the frame is fully covered. Begin the next clip with the lens covered, then pull the hand away to reveal the new outfit.
The cut should happen while the image is completely dark or filled by the hand. Keep the hand direction and speed consistent. If the first swipe travels from upper right to lower left, start the reveal from the same screen position.
This is the transition rule used by the Fisheye Elevator Outfit Change, but the top-down camera makes the hand movement feel different from a standard eye-level reel. A useful creative starter is: “A hand passes across the lens and reveals…” Finish the outfit palette, pose, location, and ending yourself.
2. Jacket toss reveal
Hold a jacket or shirt in front of your body, throw it toward the camera, and cut when the garment fills the frame. Start the next clip with the new outfit already on and the same garment moving away from the lens.
Use a soft item without hard buckles or heavy decorations. Protect the camera, keep other people clear of the throw, and do not aim from so close that the fabric strikes the device. The garment should hide the cut, not create a safety problem.
3. Turn-and-match transition
Rotate your shoulders or complete a full spin. Cut when your back or profile crosses the lens, then continue the rotation in the next look.
Place tape marks for both feet. Match your head height and arm position at the edit point. Flowing fabric makes the movement easier to read, but avoid a loose hem or accessory that could catch underfoot.
4. Elevator-door outfit change
Stand centered as elevator doors begin to close, then reveal another outfit when they open. If you cannot safely control access to a real elevator, recreate the idea with two sliding panels, curtains, or a doorway wipe.
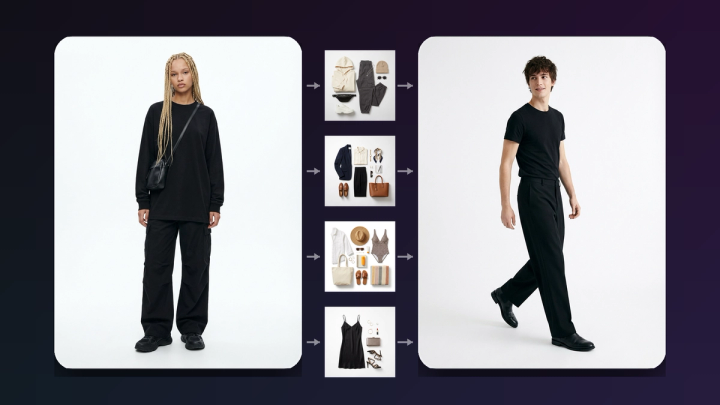
Never block public elevator doors, interfere with other users, or film where permission is required. The visual concept depends on the vertical wipe, not on occupying a working elevator. For an AI-assisted alternative, the Elevator Outfit Try-On trend uses a fixed elevator setting while a separate outfit image can guide the look.
5. Jump-cut landing
Start in a neutral stance, jump, and cut close to the highest point. In the next outfit, begin at a matching height and land in the same place.
The camera should be fixed and far enough away to keep your head and feet inside the frame. Use a low, controlled jump on a dry, clear surface. A small hop aligned well looks better than a dramatic leap with mismatched body position.
6. Shoe-stomp transition
Frame the lower body or full outfit, lift one foot, and bring the sole toward the lens or floor. Cut at the moment of impact, then reveal the next look with the matching foot moving away.
This concept works well when footwear is part of the story. Keep the camera protected and avoid stepping directly on a phone. A floor-level camera can create energy, but it should be mounted securely outside the landing area.
7. Whip-pan wardrobe change
Move the camera rapidly sideways until the scene becomes motion blur. Start the next clip with the same pan speed and direction, then stop on the new outfit.
Pick one direction for every cut. Alternating left and right without a visual reason can feel disorienting. If filming alone, keep your body still and use a controlled tripod-head movement rather than swinging a loose phone through the room.
8. Sit-to-stand change
Begin seated, lean forward, and rise through the frame. Cut when your torso occupies most of the image. Continue the movement in the next outfit and settle into a matching standing pose.
A sofa or chair gives the sequence a stable visual anchor. The Sofa Outfit Change trend takes a different approach: a top-down room setup and built-in set of looks create repeated fashion changes from one source photo.
9. Accessory snap sequence
Keep the base outfit stable and change one accessory per beat—glasses, scarf, hat, jacket, bag, or jewelry. Use a finger snap, shoulder tap, or small head turn to mark each cut.
This is easier to align than a full wardrobe replacement and can introduce a product or styling story gradually. Do not overload the frame with tiny items. Choose accessories whose shapes and colors remain readable on a phone screen.
10. Fisheye ceiling fashion reel
Mount the camera safely above the subject or use a documented top-down setup, then repeat a gesture directly toward the lens. A fisheye view exaggerates hands, shoulders, and the elevator or room geometry, making a familiar clothes-change transition feel more graphic.
Secure overhead equipment with appropriate mounts and a safety tether; do not improvise a heavy device above someone. If you want the visual without rigging a ceiling camera, imageat’s fisheye trend builds the documented 15-second, 9:16 sequence from one uploaded photo and supplies the six outfits, mirrored elevator, hand swipes, timing, and source audio.
How to film a manual outfit transition reel
Lock the camera settings
Use a tripod or secure mount. Turn off automatic lens switching if your phone supports it, and keep the same focal length throughout. Lock exposure and focus when possible so a bright shirt does not make the room suddenly darker.
Record in the final orientation. For Reels, TikTok, and Shorts, that usually means 9:16 vertical. Leave a little space above the head and below the feet if the transition includes jumps or full-body movement.
Mark the body and tripod positions
Place small removable tape marks for your feet and the tripod legs. Note which foot carries your weight, where your hands finish, and how far your shoulders turn. Take a reference still before changing clothes.
If the location must be reset between takes, record basic measurements: camera height, distance to subject, lens setting, and floor-mark position. “Approximately the same” often becomes visibly different after the cut.
Record handles around every transition
Do not stop the clip immediately after the gesture. Hold the starting pose for a second, perform the transition, then continue for another second. These extra frames—editing handles—let you move the cut without losing the action.
Repeat each transition two or three times before changing outfits. A spare take is cheaper than reconstructing the entire setup later.
Match the cut point
In your editor, place the clips on adjacent tracks or reduce the opacity of the upper clip temporarily. Align the face, shoulders, hands, and background edges. Then move the cut to the frame where the hand, garment, blur, or body turn hides the largest part of the image.
If the clips do not match, favor the face and torso over the feet. Viewers notice a sudden head-position jump before a small shoe-position change.
Use speed changes carefully
A short acceleration can tighten a slow hand swipe, but dramatic speed ramps can make fabric and fingers look unnatural. First build a clean match cut at normal speed. Add timing effects only after the alignment works.
For custom AI motion rather than a fixed template, the AI video generator supports broader video creation workflows. Describe the action order and camera behavior before decorative details. A short starter might be: “Locked vertical camera; one person repeats the same pose as…” Add your own safe transition, wardrobe logic, location, and ending instead of stacking conflicting instructions.
How to make the fisheye elevator version from one photo
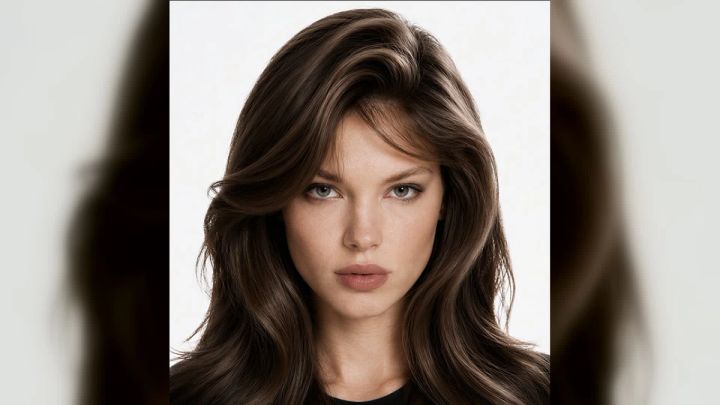
The current imageat trend page asks for one full-body photo of one person, facing the camera with the face visible and even lighting. It creates a top-down elevator reel with six built-in looks. The documented sequence is about 15 seconds in a 9:16 frame and uses source audio.
The page currently offers 480p and 720p choices. It lists 132 credits for 480p and 241 credits for 720p, with failed generations refunded. Those are current page values, not permanent prices; check the Generate button before starting because settings and credit costs can change.
The workflow is straightforward:
- Open the Fisheye Elevator Outfit Change generator.
- Upload one clear full-body photo with one consenting adult.
- Choose 480p or 720p and review the displayed credit cost.
- Generate, then inspect the full result before downloading or posting it.
The source photo informs the face, hair, skin tone, and body proportions. The template supplies the six clothes changes, elevator, fisheye camera, hand-swipe transitions, timing, and audio. It is a fixed trend workflow, so use a custom image-to-video workflow when you need a different wardrobe sequence, setting, or camera plan.
Source-photo checklist
- Use one adult in the image, head to feet if possible.
- Choose a sharp, well-lit photo with the face unobstructed.
- Avoid sunglasses, masks, motion blur, and hands covering facial features.
- Check the top of the hairstyle carefully because the camera view is from above.
- Prefer a natural standing posture without crossed limbs.
- Upload only a photo you own or have permission to use.
A source photo cannot guarantee perfect likeness or clothing geometry. Review glasses, collars, hands, shoes, hair, and body proportions in every look—not only the opening frame.
Manual filming or an AI template: which should you use?
Choose manual filming when the actual garments, choreography, location, or personal performance is the point. You control every item and can show how real fabric moves. The trade-off is setup time: you need to change clothes, repeat motion, align clips, and edit the sequence.
Choose a fixed AI trend when you want the documented look and camera concept from one photo. It reduces filming and editing work, but the structure and built-in outfits are not fully customizable. Generation uses paid credits, and the output is synthetic rather than a record of a real performance.
A hybrid workflow can also work. Use an AI version as a private storyboard for angle and pacing, then film your real outfits. Or film a practical reel and use the video editor for a separate transformation experiment. Label synthetic media honestly when the distinction matters.
Common outfit transition mistakes
The camera moves between takes
Even a small shift changes the background perspective. Tape the tripod feet, lock the head, and avoid touching the mount while changing outfits.
The gesture does not fully hide the cut
A hand that covers only half the lens leaves a visible jump. Move close enough to fill the frame, or place the edit at the moment of strongest motion blur.
Every look has a different silhouette and pose
Variety is good, but complete visual discontinuity makes alignment difficult. Keep one repeated posture, accessory, color, or hand position across the sequence.
The reel starts too slowly
Do not spend several seconds walking into place. Open near the action: the first swipe, turn, stomp, or reveal should happen quickly.
The music dictates unsafe movement
A beat is not a reason to jump near stairs, block a public doorway, throw a hard object, or mount equipment insecurely. Change the transition rather than accepting a risky setup.
AI output is presented as a real fitting
A synthetic outfit reel does not prove garment fit, material, sizing, or product availability. Do not use it as deceptive evidence in a listing or ad. Treat it as creative visualization unless the exact product and claims have been verified separately.
Music, consent, and publishing checks
Audio included in a generated result does not automatically provide rights for every public, sponsored, or commercial use. Check the destination platform’s current music rules and replace the soundtrack through its licensed library when necessary.
Get permission before uploading someone’s photo and before posting the result. Do not use celebrity images, impersonate another person, or imply that a synthetic performance really occurred. Review imageat’s responsible-use guidance before publishing identity-based media.
Watch the final export from beginning to end and ask:
- Does the face remain consistent through every change?
- Are hands, glasses, collars, and shoes plausible?
- Does any transition expose a distracting alignment jump?
- Are the clothes represented honestly if the video is promotional?
- Does the subject approve every look and the final caption?
- Is the music cleared for the intended use?
- Is the export truly vertical, with no important detail cropped by app controls?
Frequently asked questions
How do you make an outfit transition video?
Lock the camera, mark your body position, repeat one movement in every outfit, and cut where that movement hides the frame. A hand swipe, spin, jacket toss, whip pan, or jump can mask the edit if its direction and timing match.
What is the easiest clothes-change transition?
A hand-swipe lens cover is usually the simplest. End one clip with the lens fully covered and begin the next clip covered, then pull the hand away. It requires less athletic movement than a jump or spin.
How many outfits should an outfit transition reel include?
Three to six is a practical range for a short reel. Fewer can feel underdeveloped; many more can become repetitive unless the styling follows a clear story.
Can I create an outfit transition from one photo?
Yes, if the tool explicitly supports a one-photo workflow. The imageat fisheye elevator trend uses one full-body photo and builds a fixed six-look vertical sequence. It uses credits and does not document a free local mode.
Do I need a fisheye lens?
Not for most transition styles. A standard phone lens works for hand covers, spins, jumps, and whip pans. The fisheye look is a specific creative choice that exaggerates nearby hands and surrounding architecture.
What is the difference between outfit try-on and an outfit trend template?
A try-on workflow usually uses a supplied clothing image to guide what the person wears. A fixed trend template may provide built-in outfits, camera moves, transitions, location, and timing. Check the page’s input instructions rather than assuming you can upload custom garments.
Should I film the reel or use an AI template?
Film it when real garments, real movement, or a documented performance matters. Use a fixed AI template when you want its exact visual concept from a source photo and accept synthetic output, preset structure, and credit usage.
Build one clear visual rule
The most memorable outfit transition videos are easy to explain: every hand swipe reveals a new look, every turn changes the silhouette, or every beat adds one accessory. Pick one rule, lock the frame, and make each change support it.
To create the top-down six-look version without filming every change, use the Fisheye Elevator Outfit Change trend, review the current credit cost, upload a clear photo with permission, and inspect the complete synthetic result before posting.